
The Art of Custom Framing
I shared some custom framed art on Instagram a while back and heard from a lot of you that you were unsure of the process or just just didn’t know what to expect or where to start when it came to getting it done for your own pieces. Since I had to return to my framer, I decided to make a field trip of it and document the entire process to take some of the mystery out of custom framing.

I love supporting small business any time I can, so I was excited to share one of my favorite local framing shops, 1910 Frameworks, here in Memphis, TN. It was established in 1977 by the Weakes family, who worked successfully for 40 years until they were ready to retire. Hearing that the business was for sale, sisters Sarah Crawford and Adrienne Price made an offer and bought 1910 together and have kept the business running since 2018! Sarah, an artist and creative genius, runs the business while growing it’s gallery space to display more works of amazing local talent!


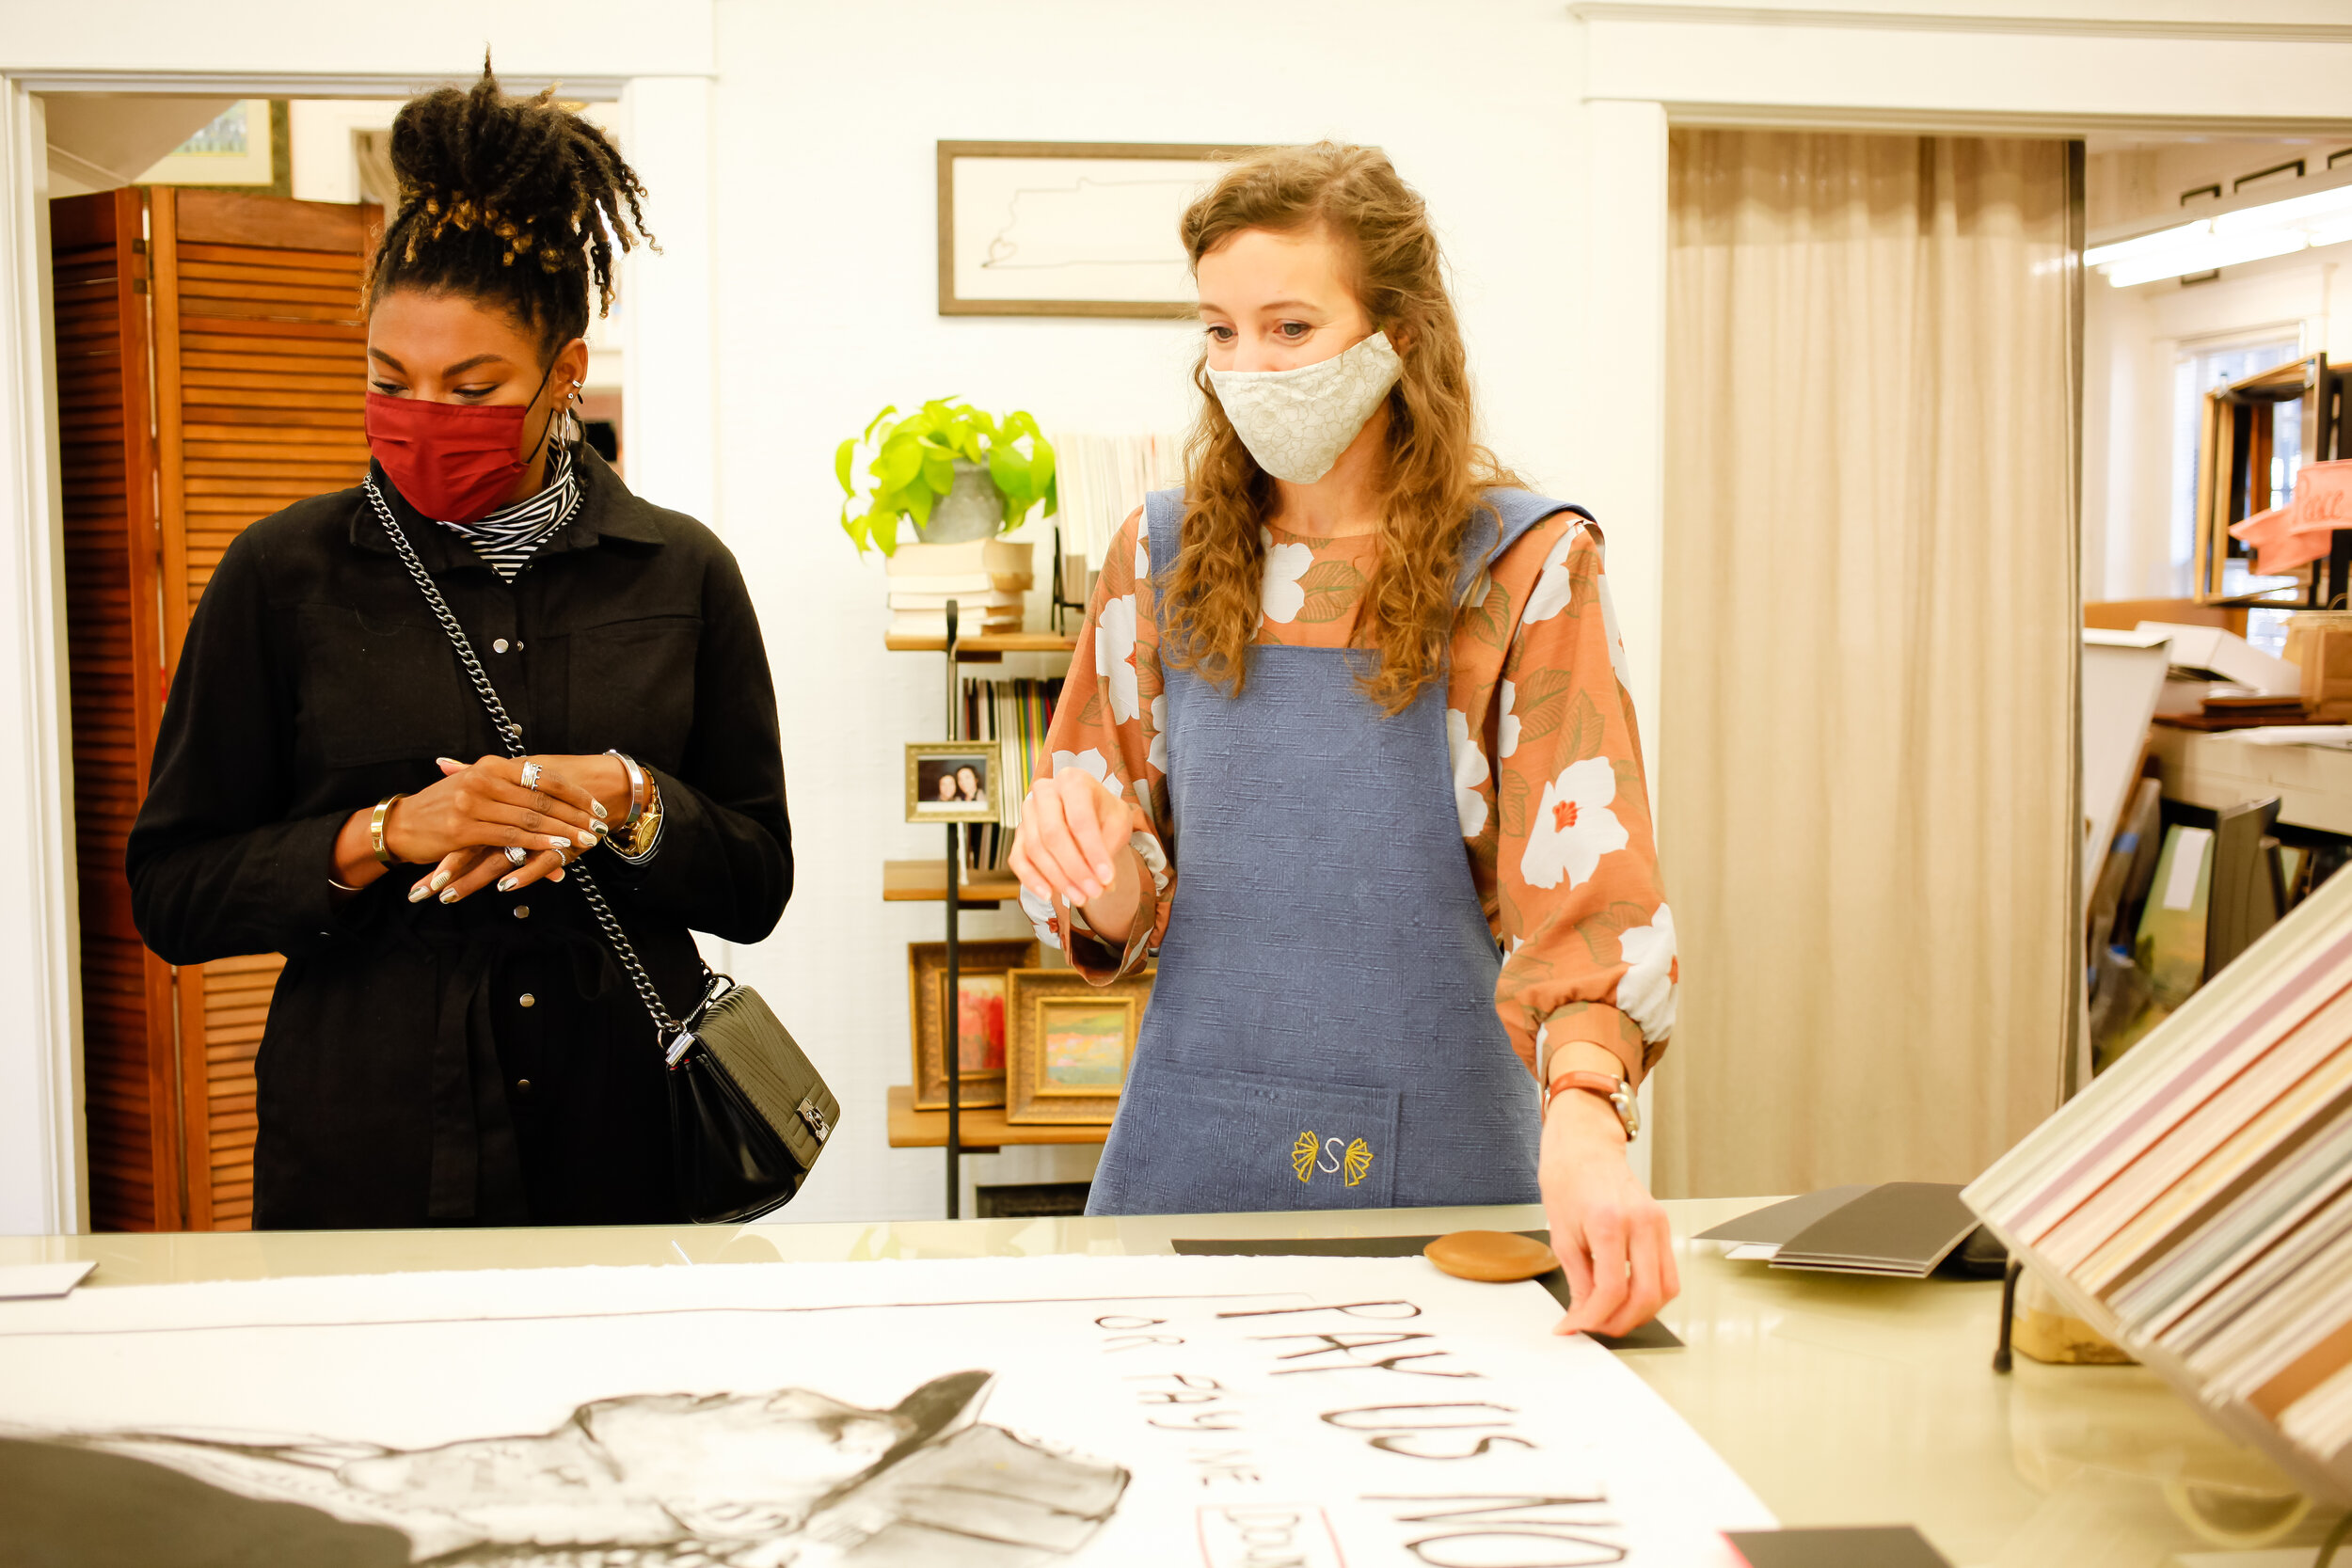
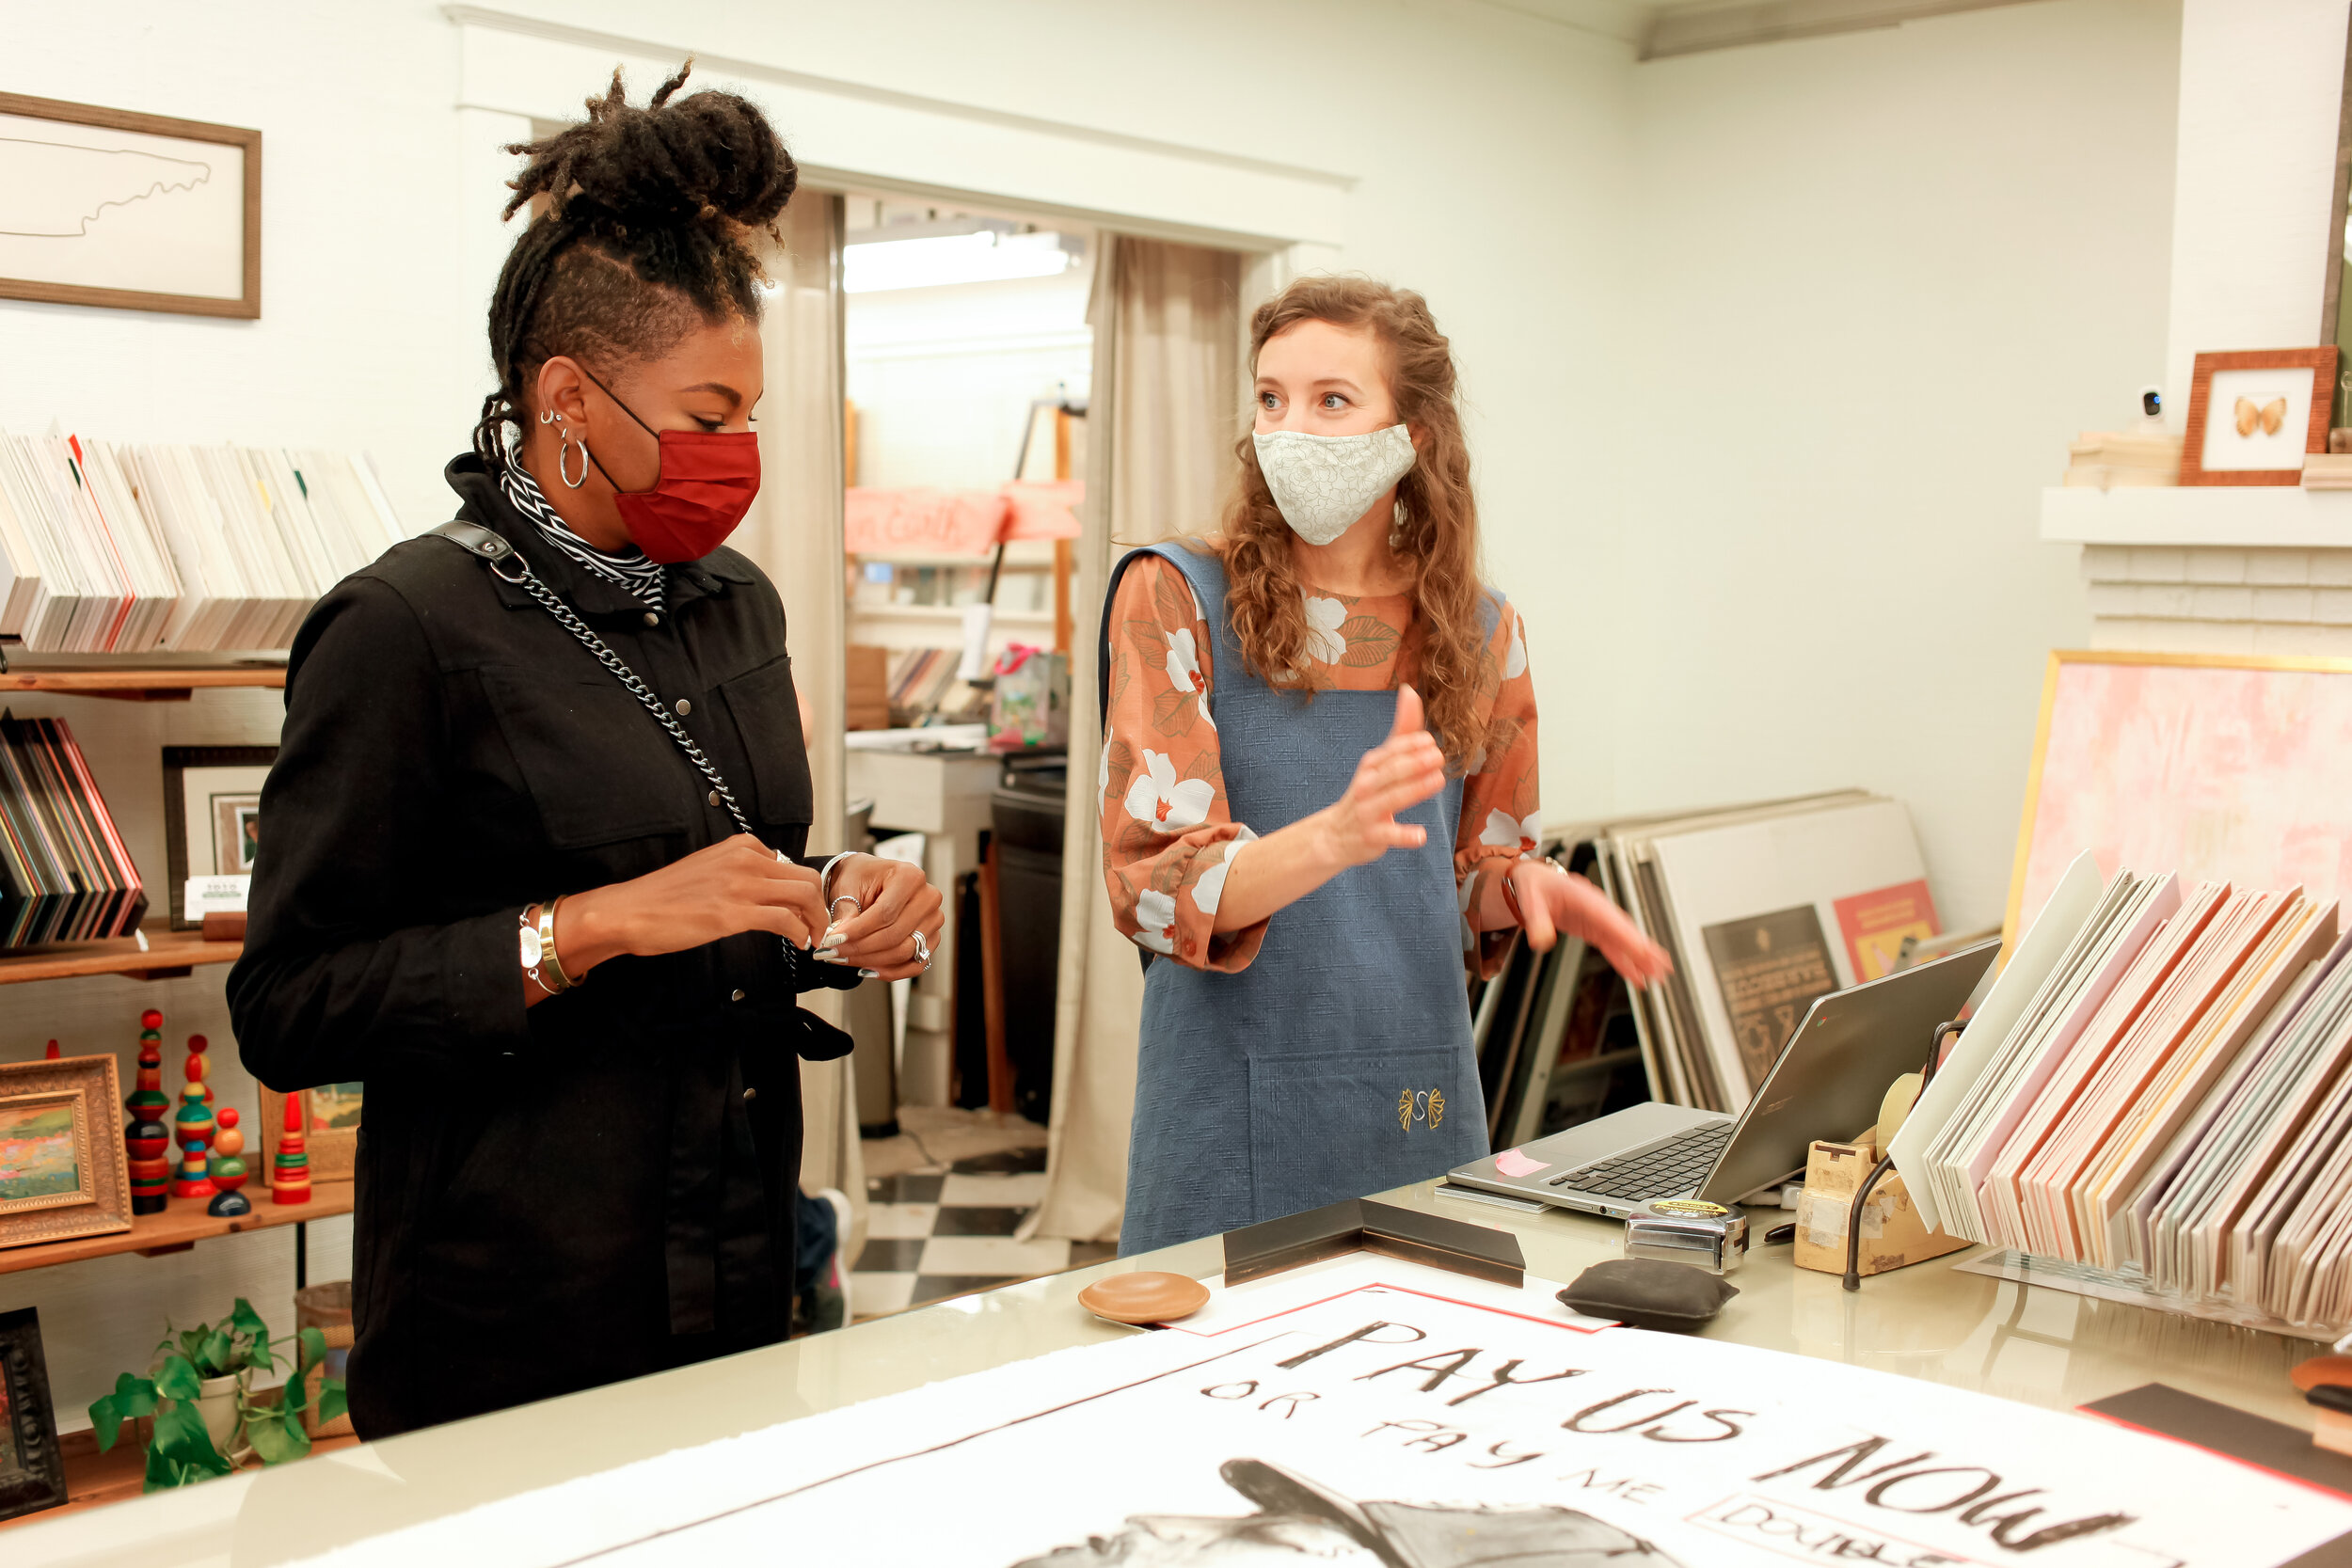
Sarah was very kind to help me on my quest to gather up all the information for you guys. She broke down the framing process and offered some amazing tips that I’ll be sharing with you guys today! She also gave us a tour of the shop, showing us where and how all the magic happens! So let’s get into it!
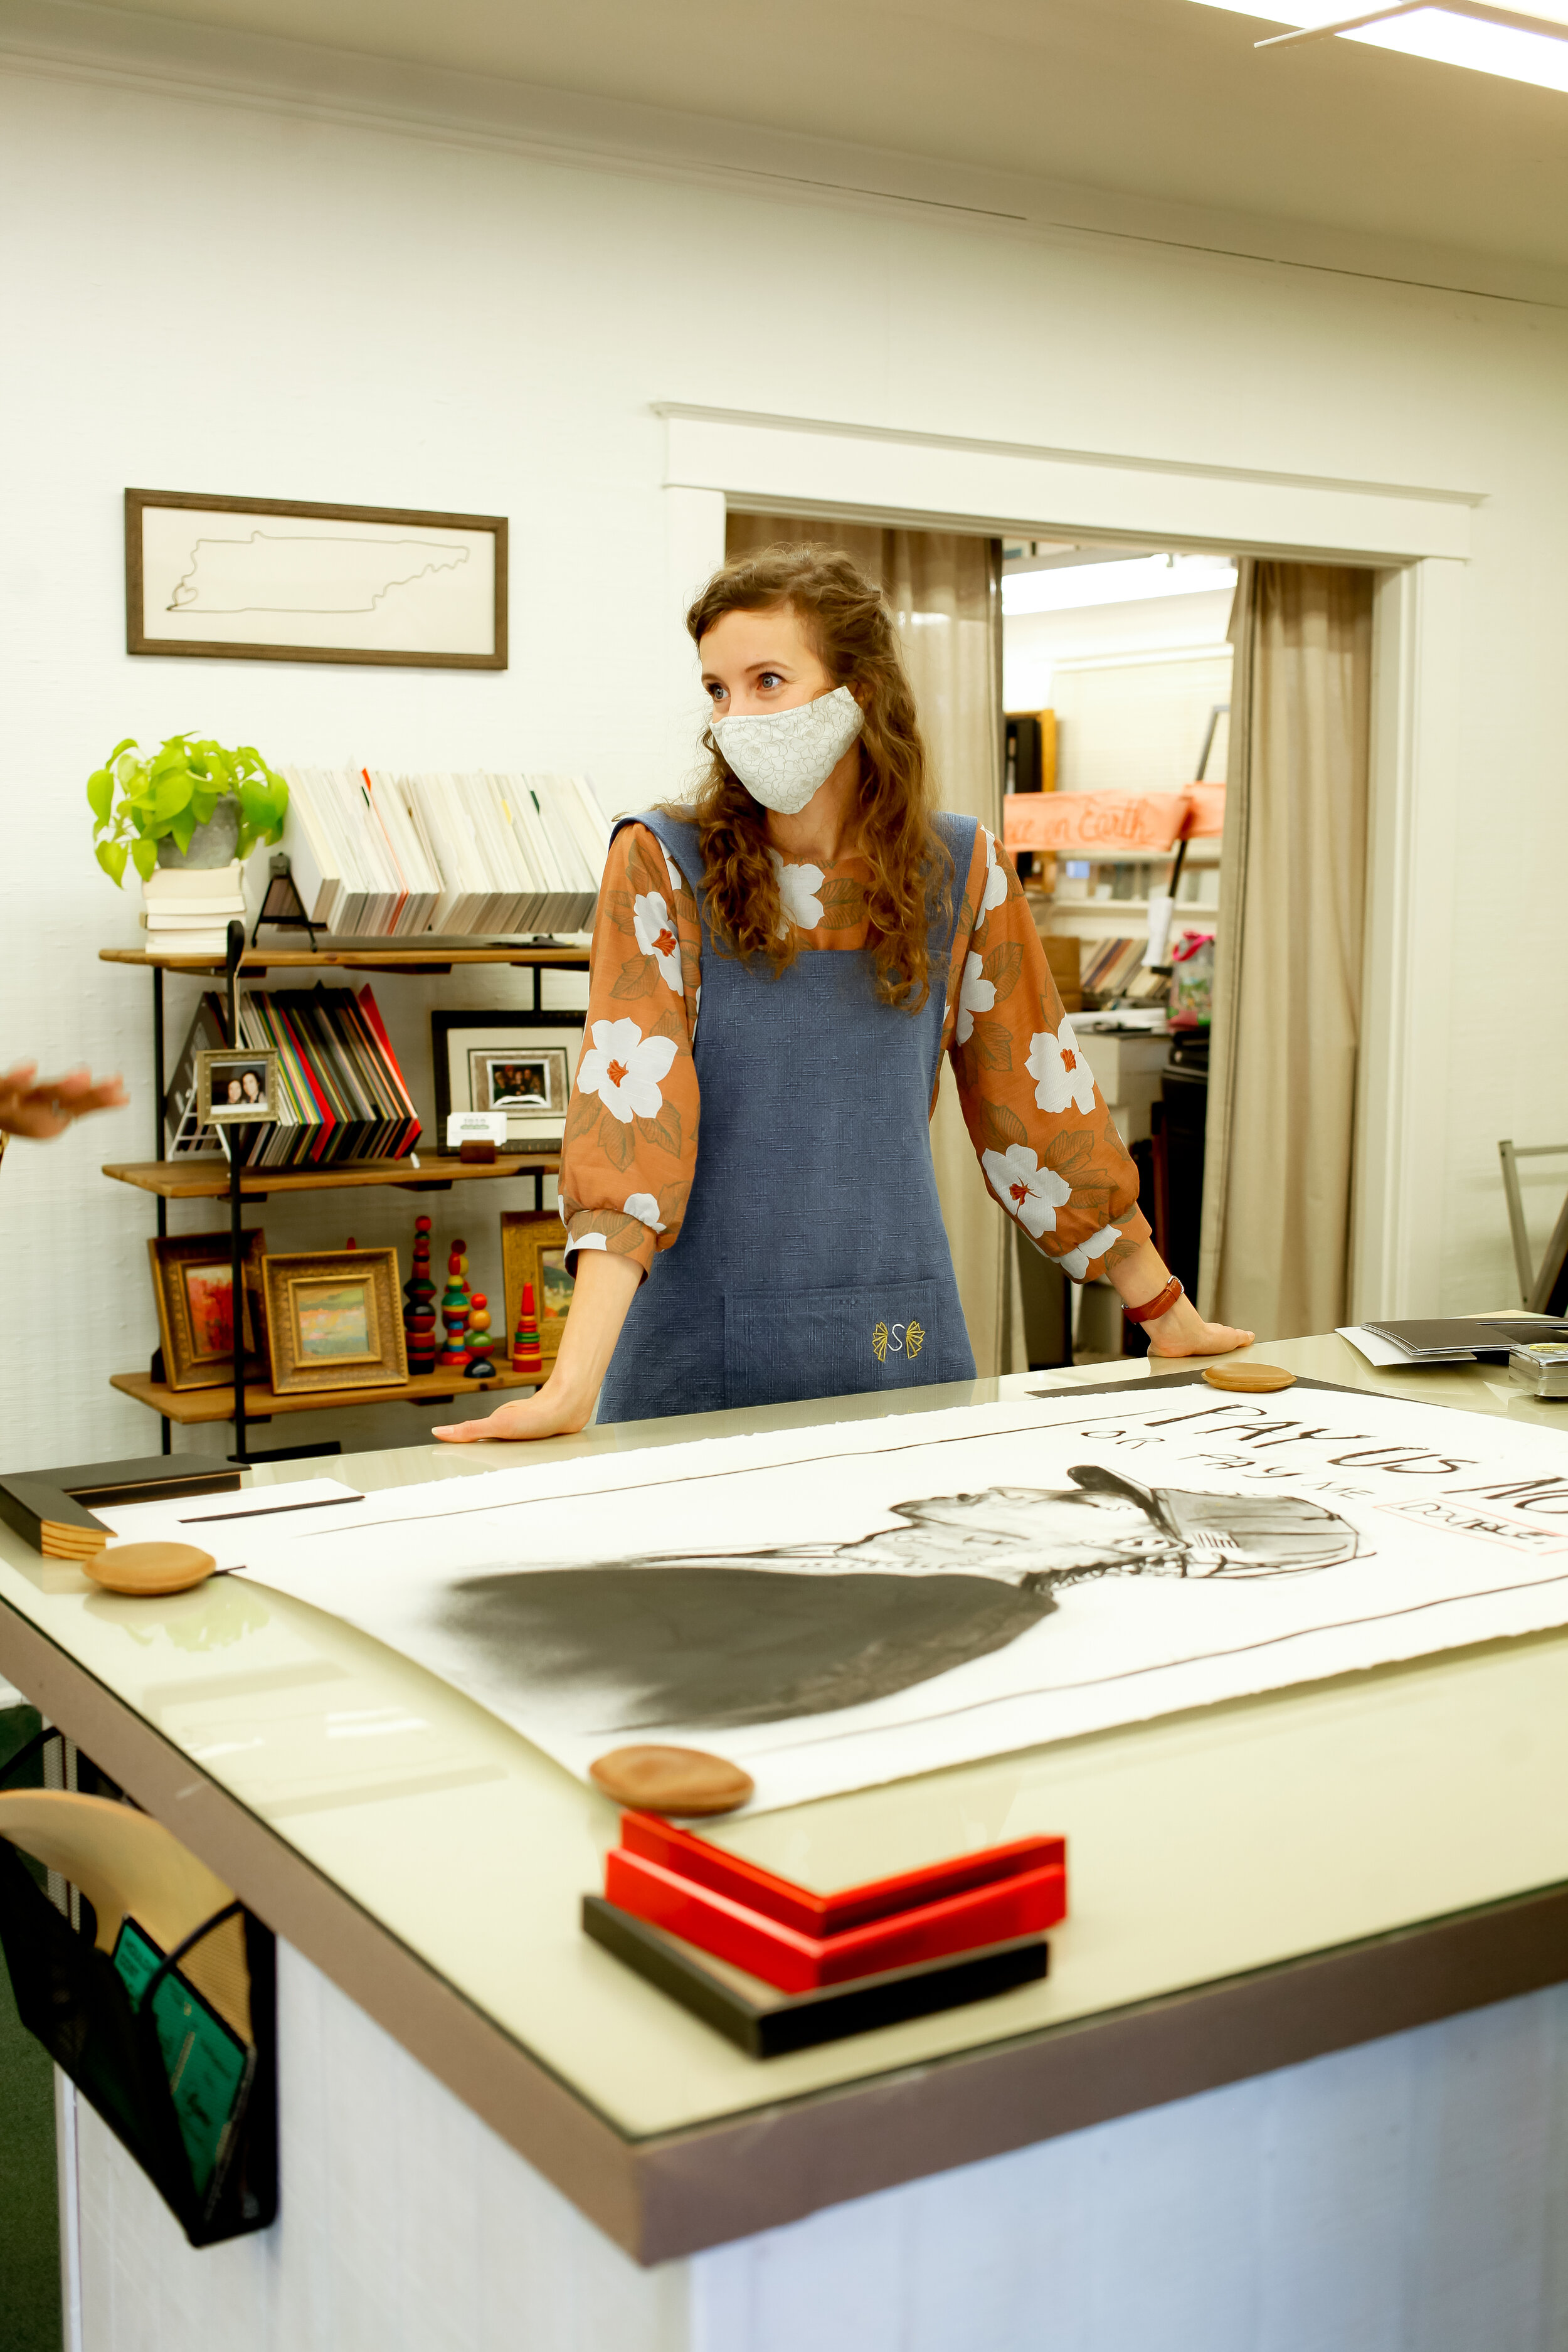
I brought in this Frances Berry original. She gifted this Nipsey Hussle piece to Marcus, so it deserved more than a big box store frame (plus, it’s a non-conventional size, so a big box store frame was out of the question anyway. LOL!).

The first step to custom framing is selecting your frame. Things to consider when selection frame options: 1. size of the art: if the art is on the larger scale (over 3 feet wide or tall), you may want to go with a frame that has a complimentary weight (one that’s larger that an inch wide). But, there are always exceptions. You want to consider the style of the space it’s going to hang, but you should select framing that suits the piece, no matter where it’s framed. To start, pick out several styles that you love and your framer will typically help you narrow down with pros and cons for each.
Frame cost is usually calculated by a cost per linear foot. For example, a budget friendly option may be $6 per linear foot. A more ornate option can cost around $20 per linear foot or more.


After you select frame options, you decide whether you want to include a mat. Mats come in all types of colors, materials and textures and can be custom cut to any size. They help draw attention to your piece and add to the custom look, but can also beef up the function of the new frame since they can separate your art from the glass, preventing unnecessary damage. An important thing to remember is you never want your art to touch the glass, especially if it’s photographs or original art.
Mat pricing varies just like frames. In most cases, they’re priced by the sheet + the cost to cut or any special labor cost, like custom coloring the inset.

Once you’ve nailed your frame/mat selections, you decide on your glazing, or glass. First, to glass or not to glass? That is a real question. Glass is great for protecting your art, but is not always necessary. There are different types of glass to choose from and they types can help you determine if you need it at all.
The cost of the glazing varies by type and, of course, size.

There’s plexiglass or clear acrylic; typical for budget frames, the Ribba from IKEA. It’s lighter, less expensive and more durable than regular glass, but scratches easily and offers almost no protection of your art. There’s regular glass; typical for store bought frames from places like Target. It’s more substantial, doesn’t scratch as easily as plexi/acrylic, but still doesn’t offer any real protection, besides from dust or pet clawing. There’s Conservation or UV glass, which protects your piece from sun and environmental damage. It also protects your piece from fading, keeping your pieces vibrant and true to color. Lastly, there’s Museum glass, which not only provides the same UV protection as Conservation glass, it also has anti-reflective qualities that cut down on glare.
I decided to go with a solid wood, 2” frame in a black finish, a white mat with a red core, so that when the mat is cut, a thin red line shows through; and conservation glass for UV protection.

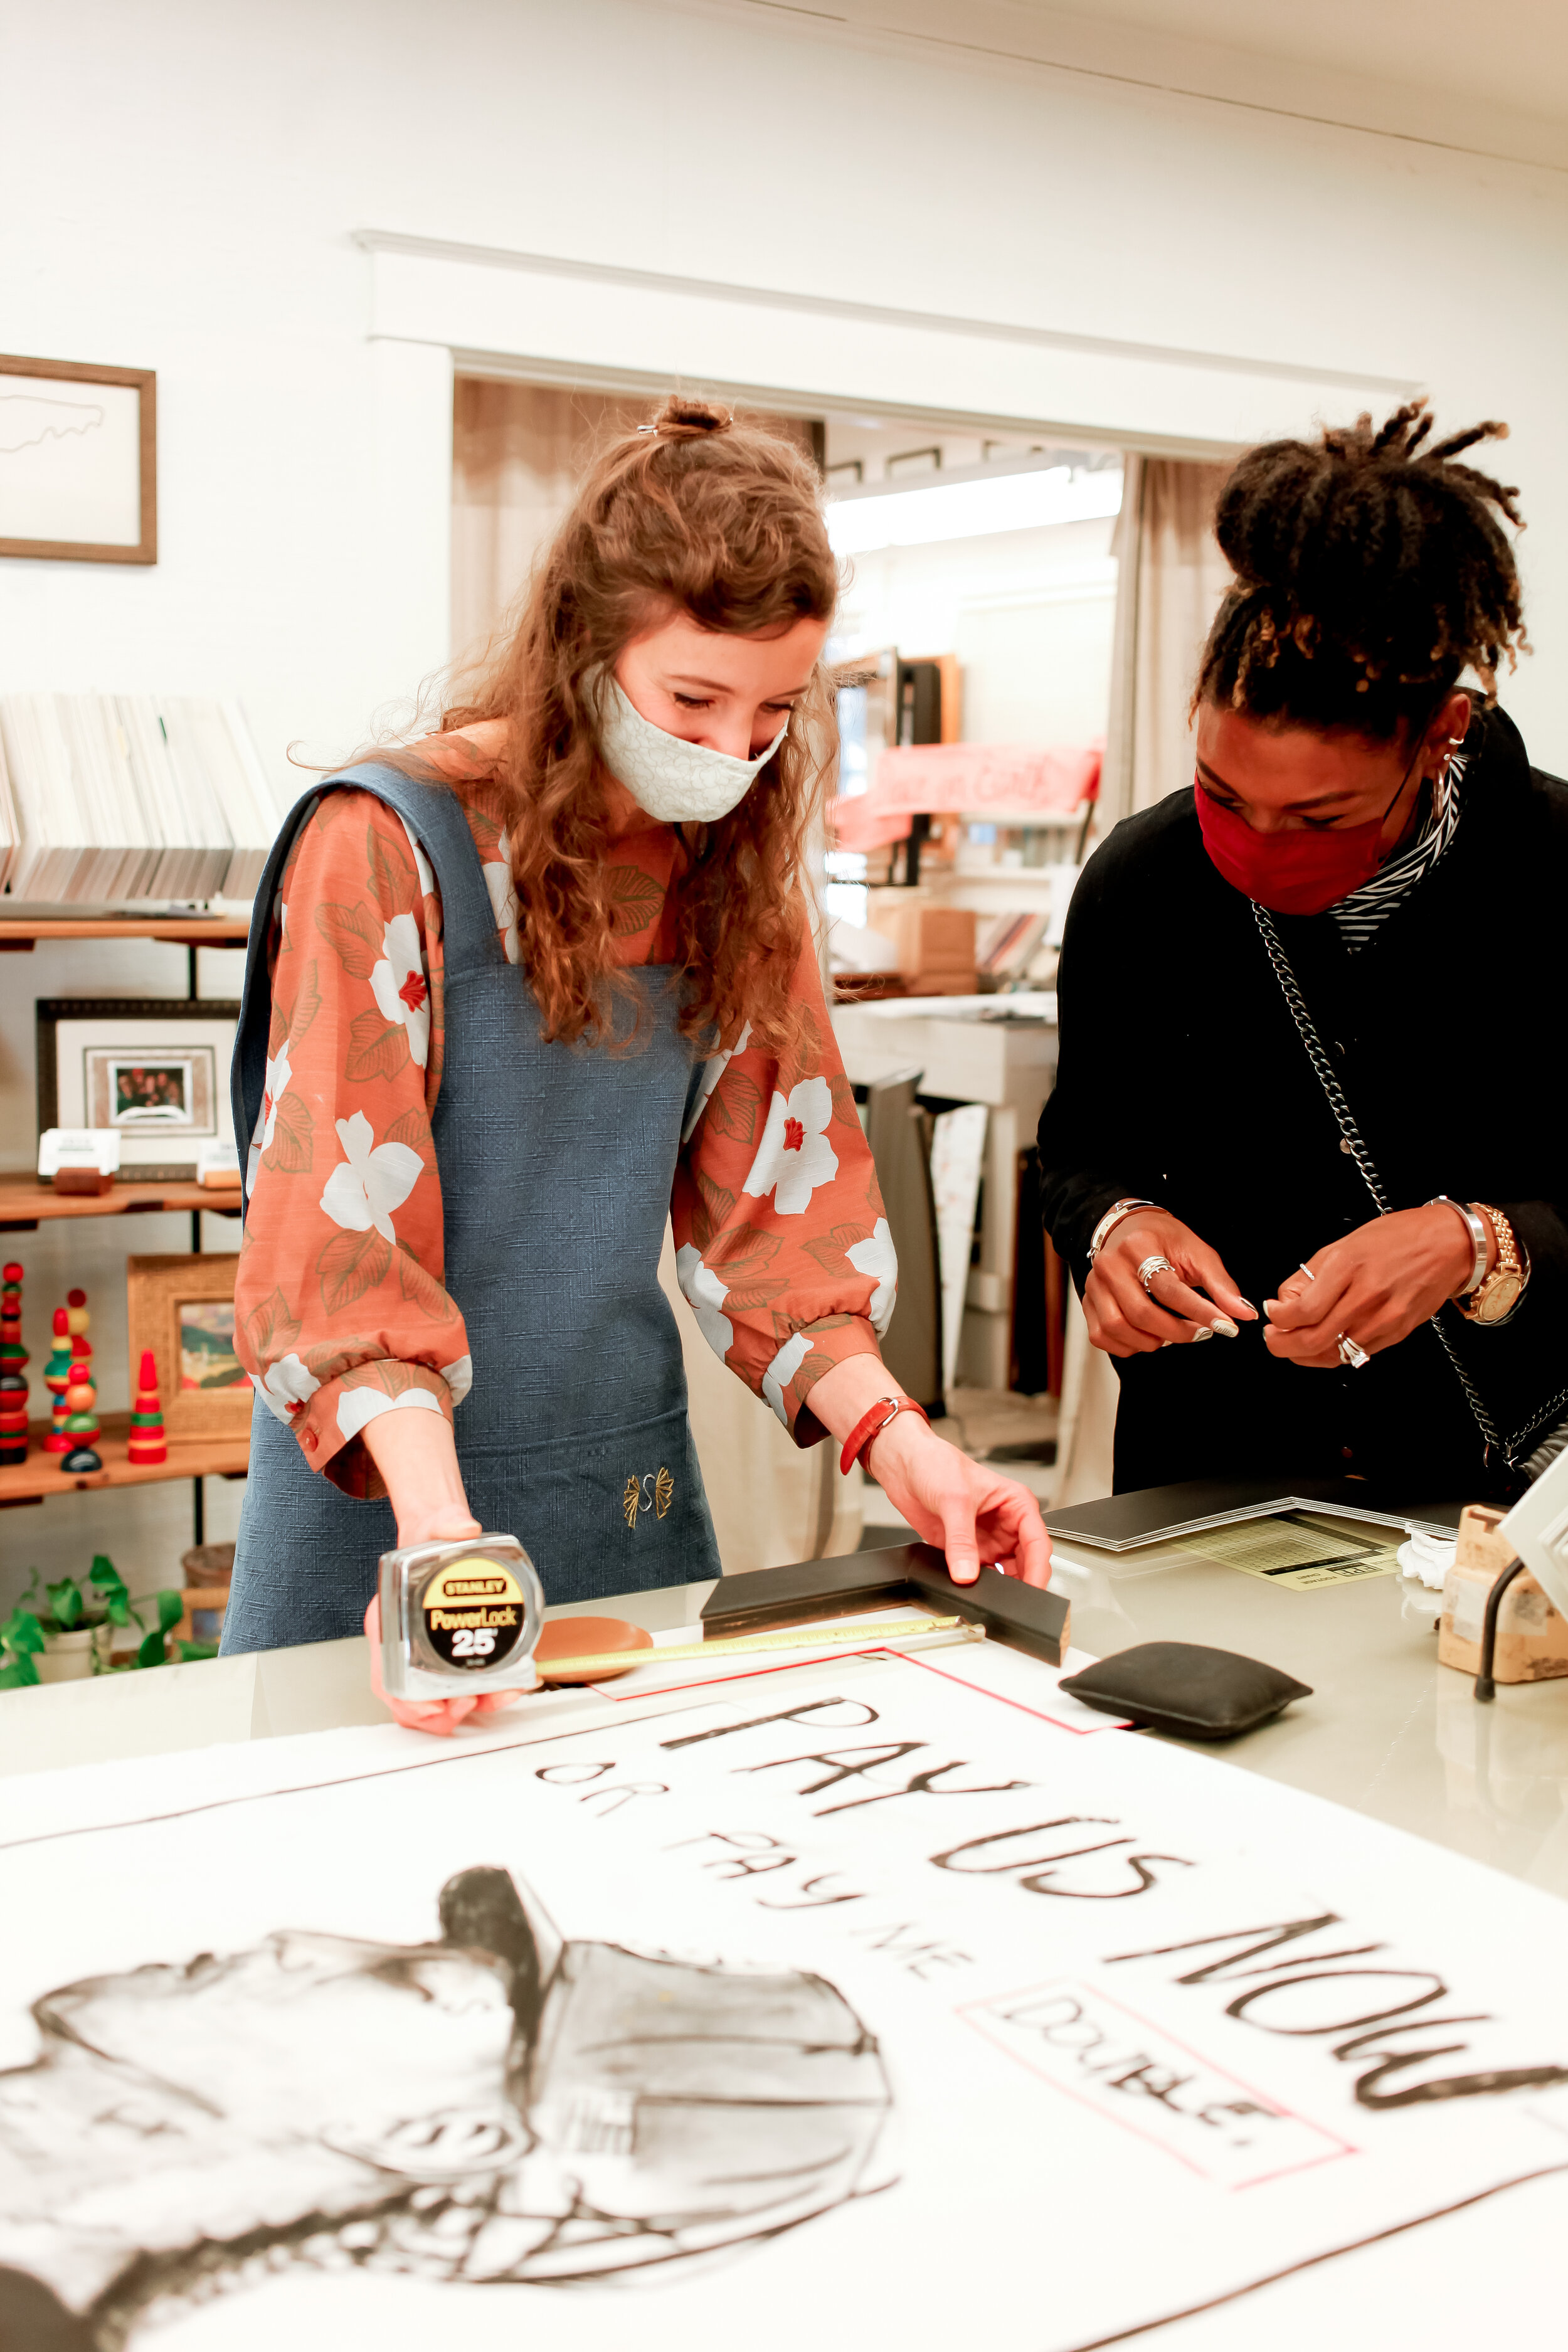
Now, let’s talk about cost. Keeping in mind that the original piece of art is roughly 33” wide by 44” tall, we were starting in “oversized” territory. Anything over 36” is usually considered oversized, so this will effect how much material is need to create the framing. Note that I’m adding additional width and length to the overall piece with the addition of the mat, so I need about 15 linear feet of wood framing and at least 3.5 ft x 4.5 ft sheet of a specialty mat and a 3.5 ft x 4.5 ft sheet of conservation glass. I also wanted to include spacers to give the art even more room beyond just the mat, then you toss in the mounting hardware.
These are just the materials, friends. There are special hands that assemble this frame and handle your priceless pieces with tons of love and care. At 1910 Frameworks, at least 3 different sets of hands assemble one piece of artwork. One person cuts and builds the frame, one person cuts the mat and glass and another person does the final assembly. That’s three people that deserve a living wage, so yes, there is also a labor cost associated with custom framing.


The total cost for my custom frame and labor came out to be $365, which is a total steal! I totally expected closer to $500 considering the size, special mat and UV glass! I will note, that this exact frame will almost definitely vary by cost in other locations. Material cost, labor cost and profit margins will vary from shop to shop. It’s just the nature of custom work. Once of best pieces of advice I can offer is to take your piece to multiple framers to compare cost and materials before making your decision.
Now, if custom framing isn’t in the cards for you right now, don’t fret! Here’s 3 ways you can get a custom touch with store-bought frames!
Take you art and store-bought frame to a custom framer and have a piece of mat custom cut to fit. Go with classic white or something bold to coordinate with your color scheme!
2. Found a frame you love? Replace regular glass with UV/Conservation glass to protect your piece.
3. Have a frame that’s difficult to hang? Take it to a custom framers to change out the hardware. Options like these “wall buddies” make hanging so much easier!
