
Nubi House: Wet Bar Refresh
Hey peeps and all my new friends! There’s a ton of different circumstances that have brought you here and, no matter what those are, I’m happy to have you! Just in case you’re new here, welcome! My name is Carmeon Hamilton and I talk a lot about a lot of things, so when you get a minute, take some time to browse the About page here on my site and my blog! I promise there’s something here that will interest you!
Now, on to why we’re here! If you’ve been around a while, you know that we’ve been making some major changes to our living area and future office. We had the entire space painted and that alone was transformation enough! But, we also updated the ceiling fan and added a ton of new lighting. I’ll share more info on the main area of the living room and the office area as we finish those up, but while we wait, I’ll show the one spot in the space that’s 100% “done” and that’s our wetbar! I mean, it’s done until I start moving things around again. LOL.
Almost exactly 2 years ago, I wrote a blog post about updating our wet bar to improve on its dreary look left behind by the previous homeowners. You can check out that full post to see how I used a few 12 x 10 x 2 boards, new hardware and some paint to transform the space from this…

Our living room wet bar on the day we moved in
…to this!

Our wet bar just a few weeks ago
The changes gave this space some true purpose and made me super happy, but I was basically trying to make due with what I had and get the biggest bang without a lot of bucks. I’d already had most of the items on the shelves, so the overall transformation cost less than $200. That was for the lumber, brackets and cabinet hardware. I’d already had the paint from painting all of our doors and trim (Behr Paint:
Black Onyx) and the matte black spray paint for the faucet. (Again, click here for that transformation.)
But, I was having to work around the baby blue paint color that the previous homeowners left behind. I never liked it, but it wasn’t obnoxious, so we just worked with it. In fact, we actually HAD to work with it, because there was no way to just paint one area or one wall. They all bled into another area that made tackling a whole painting project in a room with 18’ ceiling unimaginable as something to DIY. See what I mean?

Here’s a look at our living room on the day we closed on our house back in April 2016
I’ll talk more on that later though with the whole room reveal, but if you want to see what our entire house looked like on the day we put in our offer, just click here.
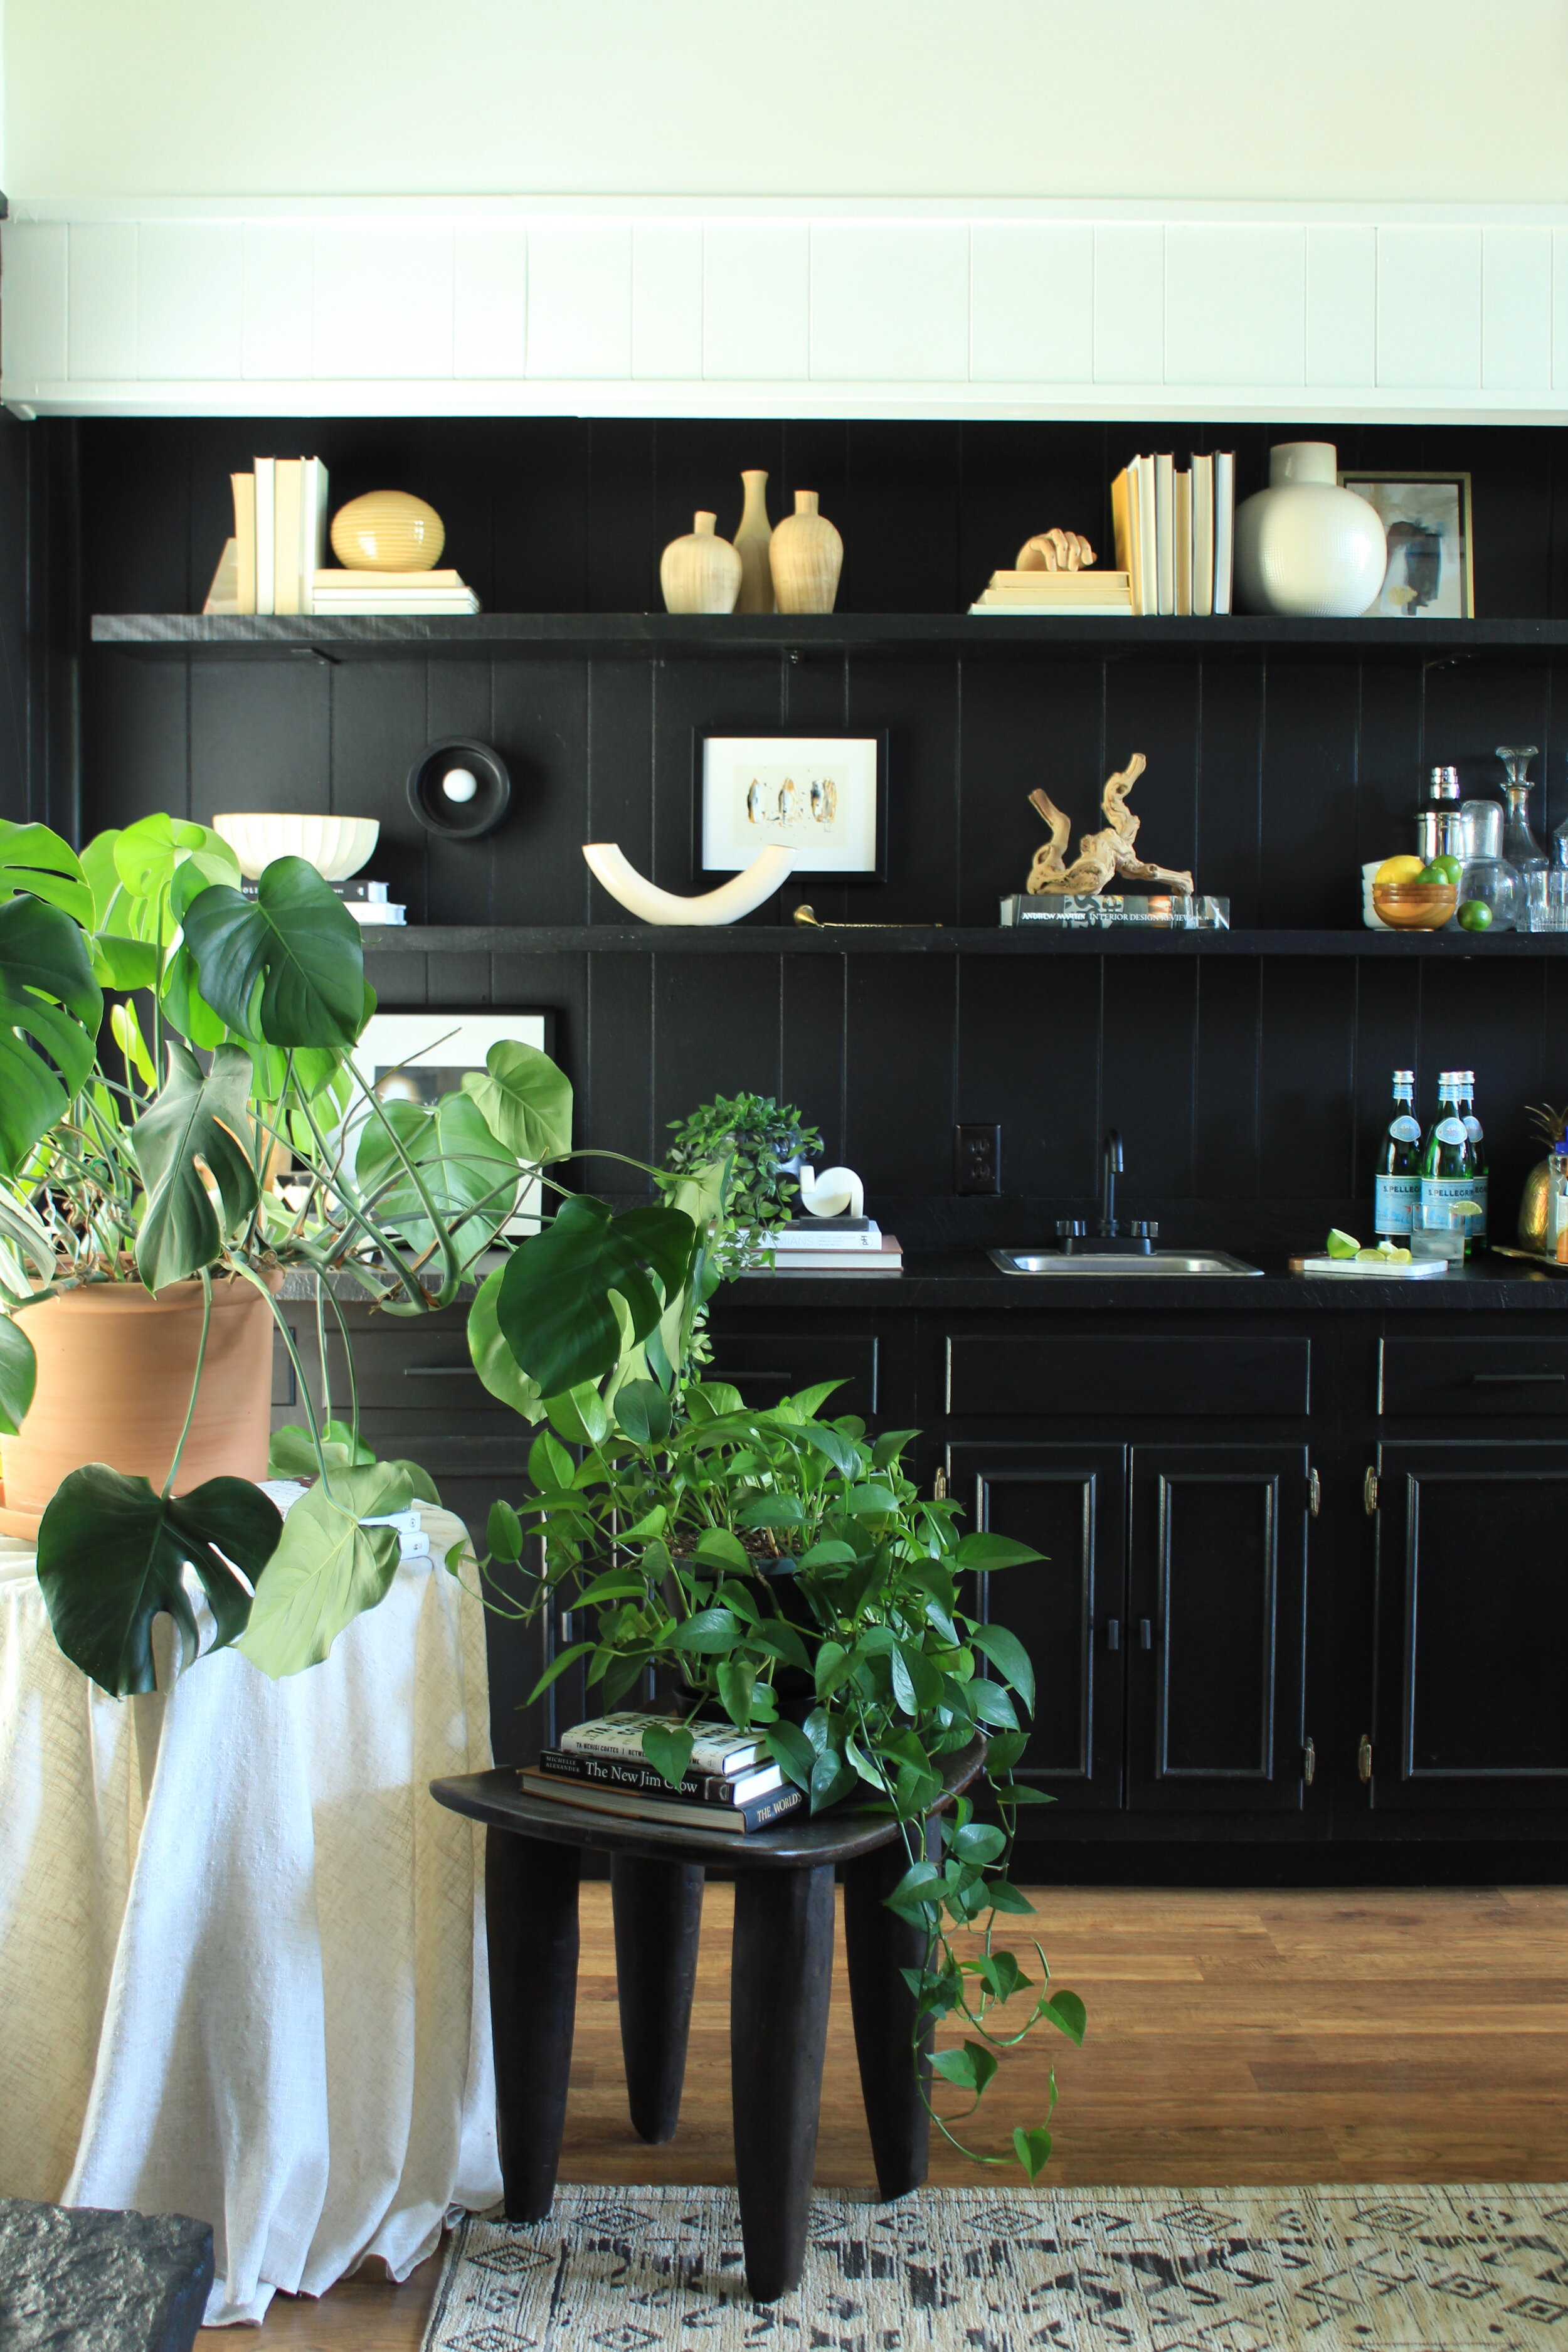
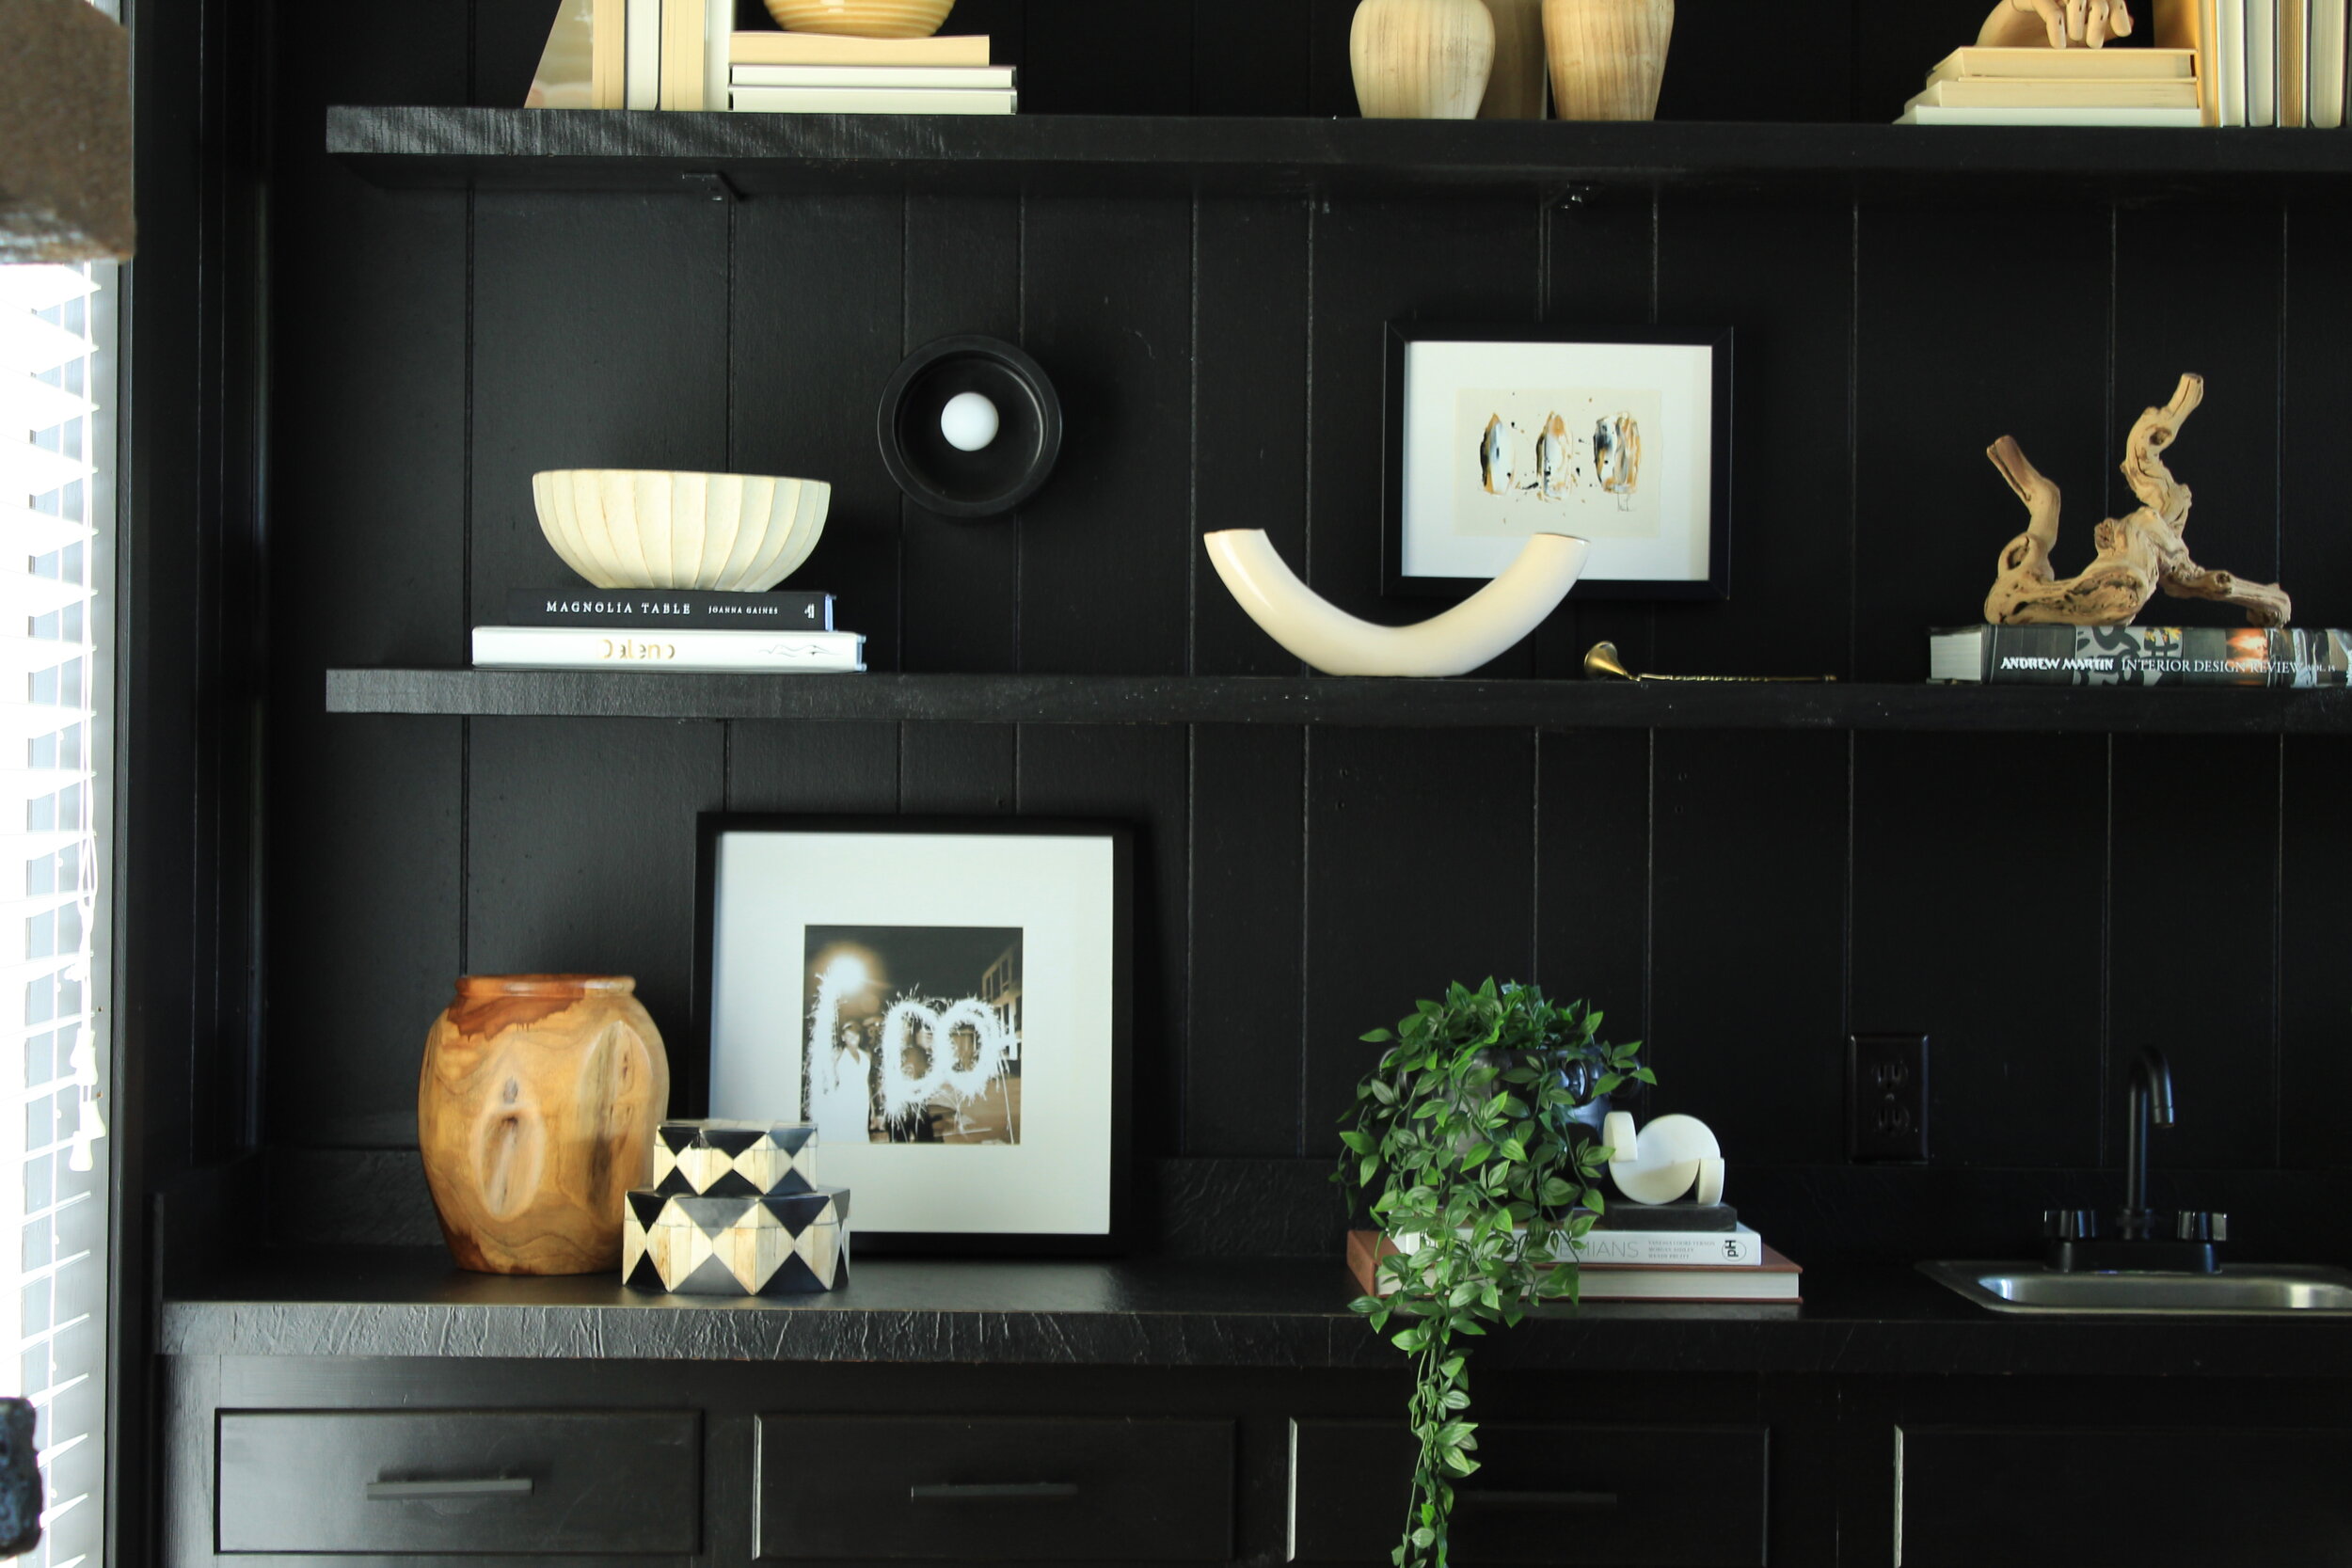
Just a few weeks ago, we hired a painter to come in to paint the entire room (the wet bar and living area of the room are painted Behr Paint: Limousine Leather and the rest of the room is painted in Benjamin Moore’s Chantilly Lace. Let me tell you, paint is one of the most transformative tools you can use to elevate a space. Here’s what the wet bar looks like now!
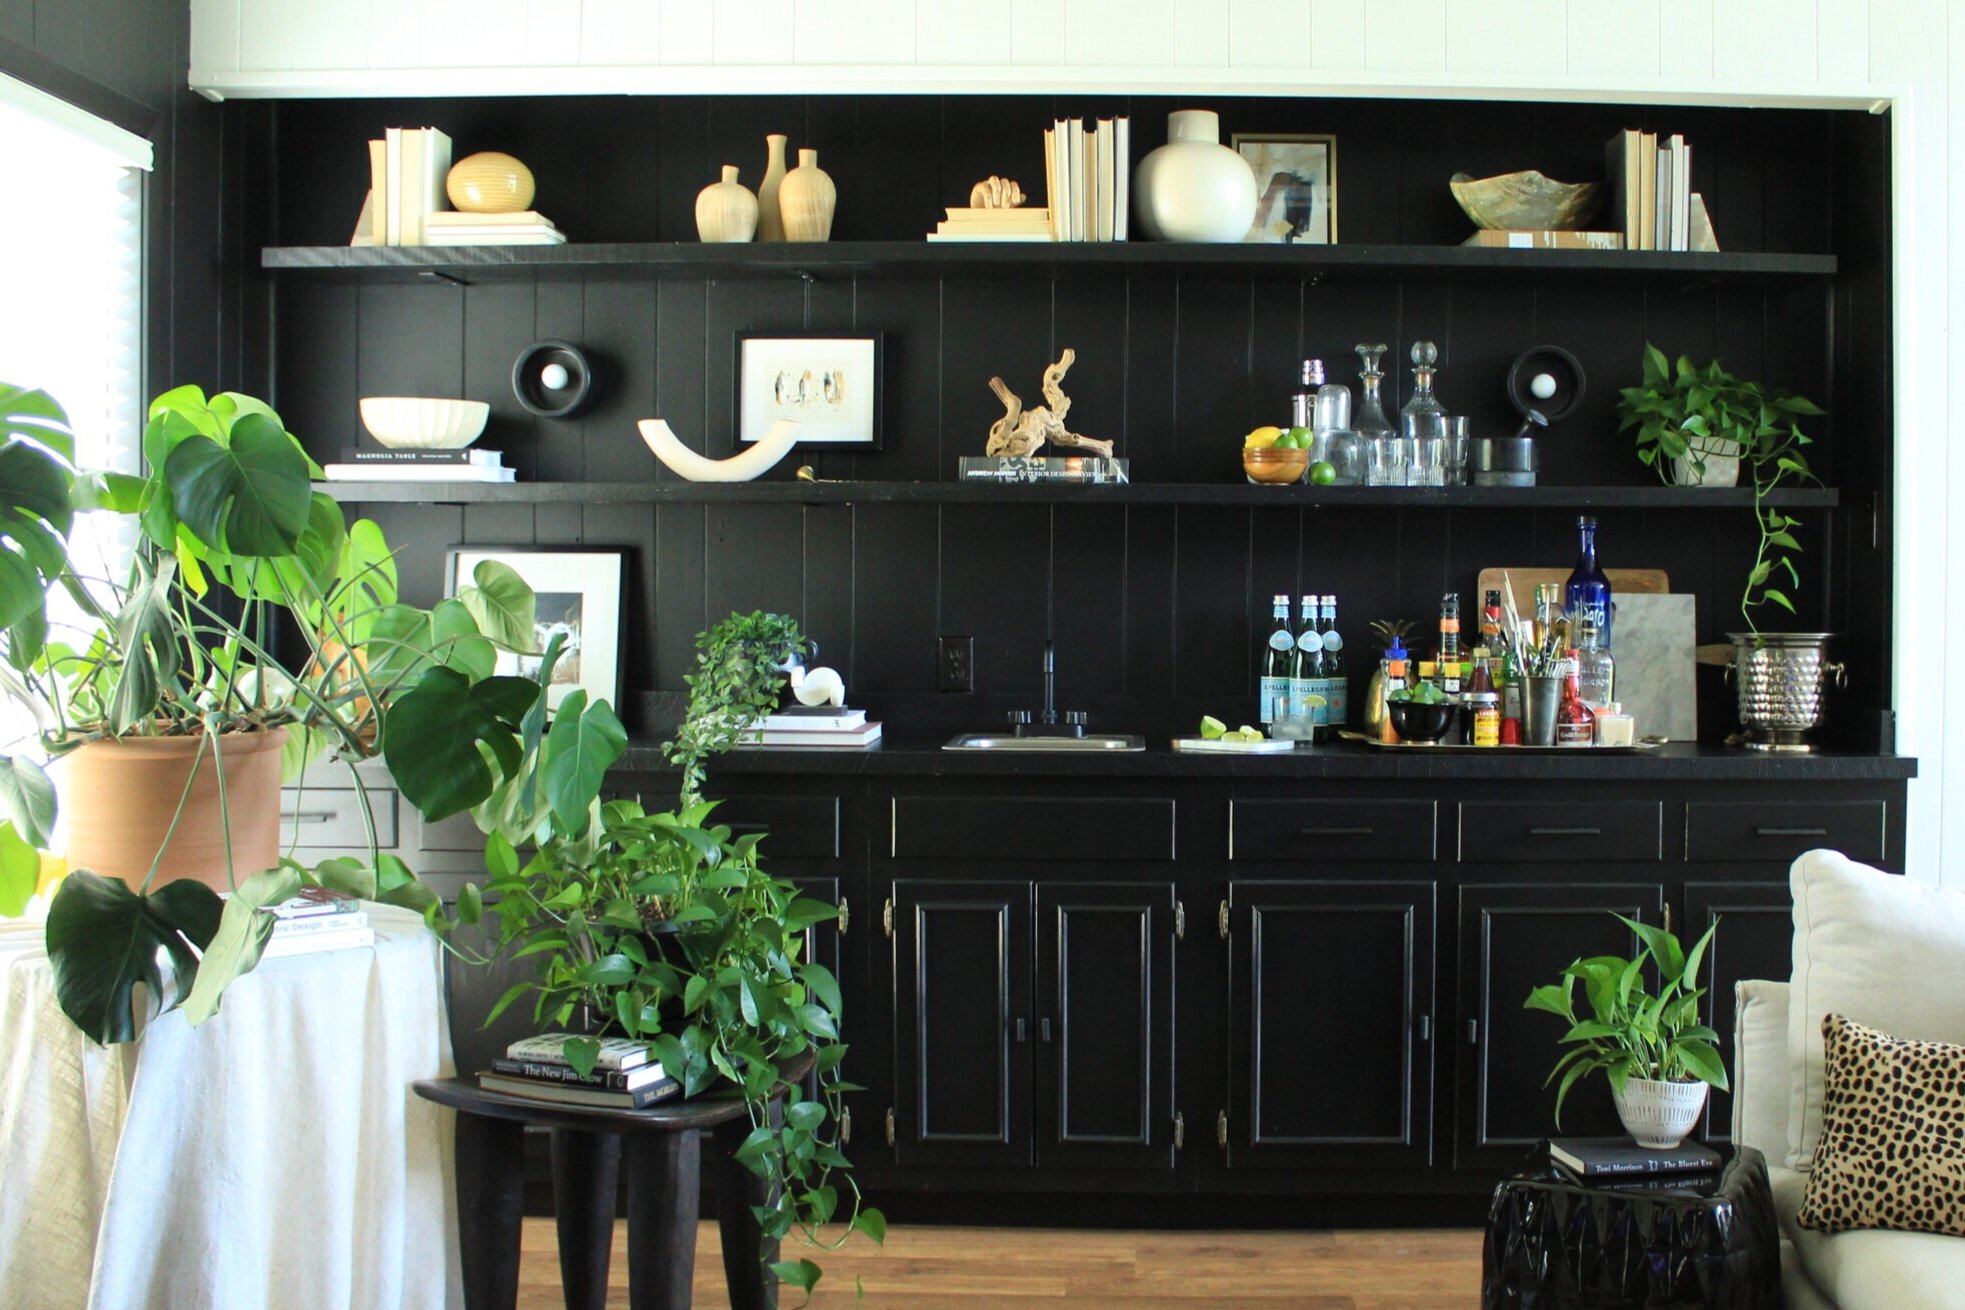


I then had my electrician come in and install new junction boxes and sconces for accent lighting on this side of the room. The lights are incredible and these photos don’t do them justice. They are Hudson Valley Lighting’s Loris Flush Mount that is made of solid marble! They’re incredibly sleek and minimal, come in three different marble finishes and I love them so much!
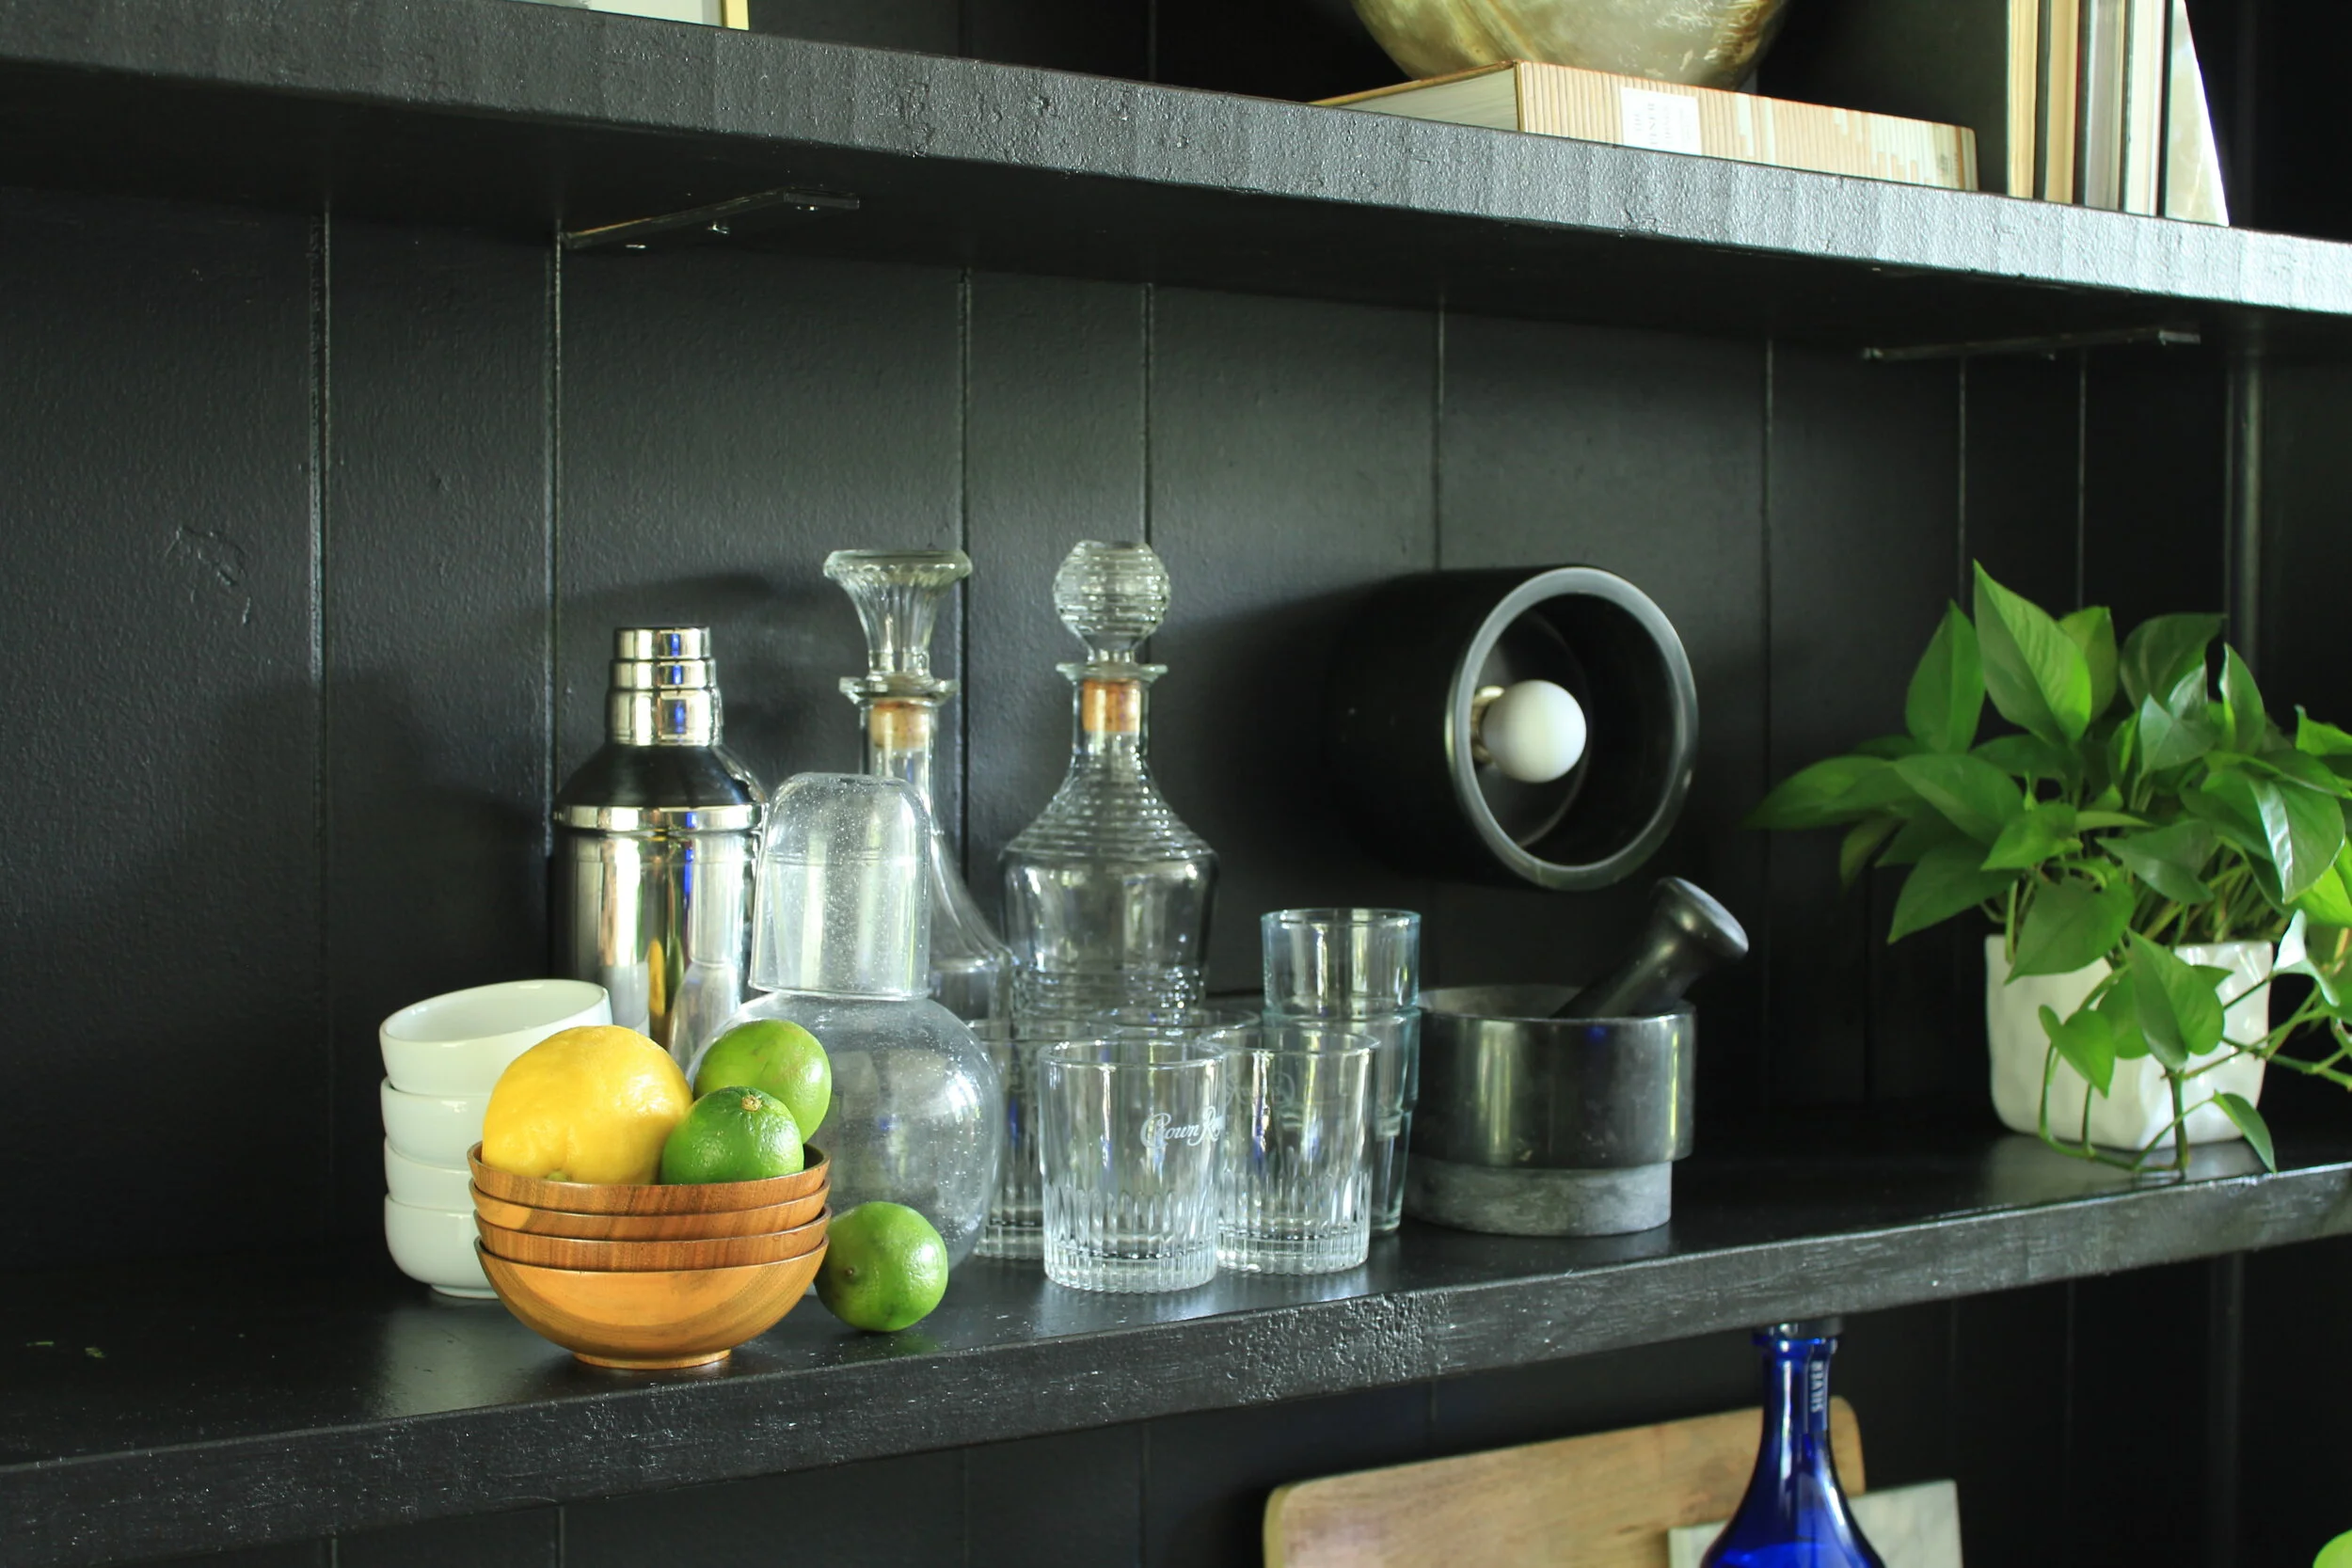
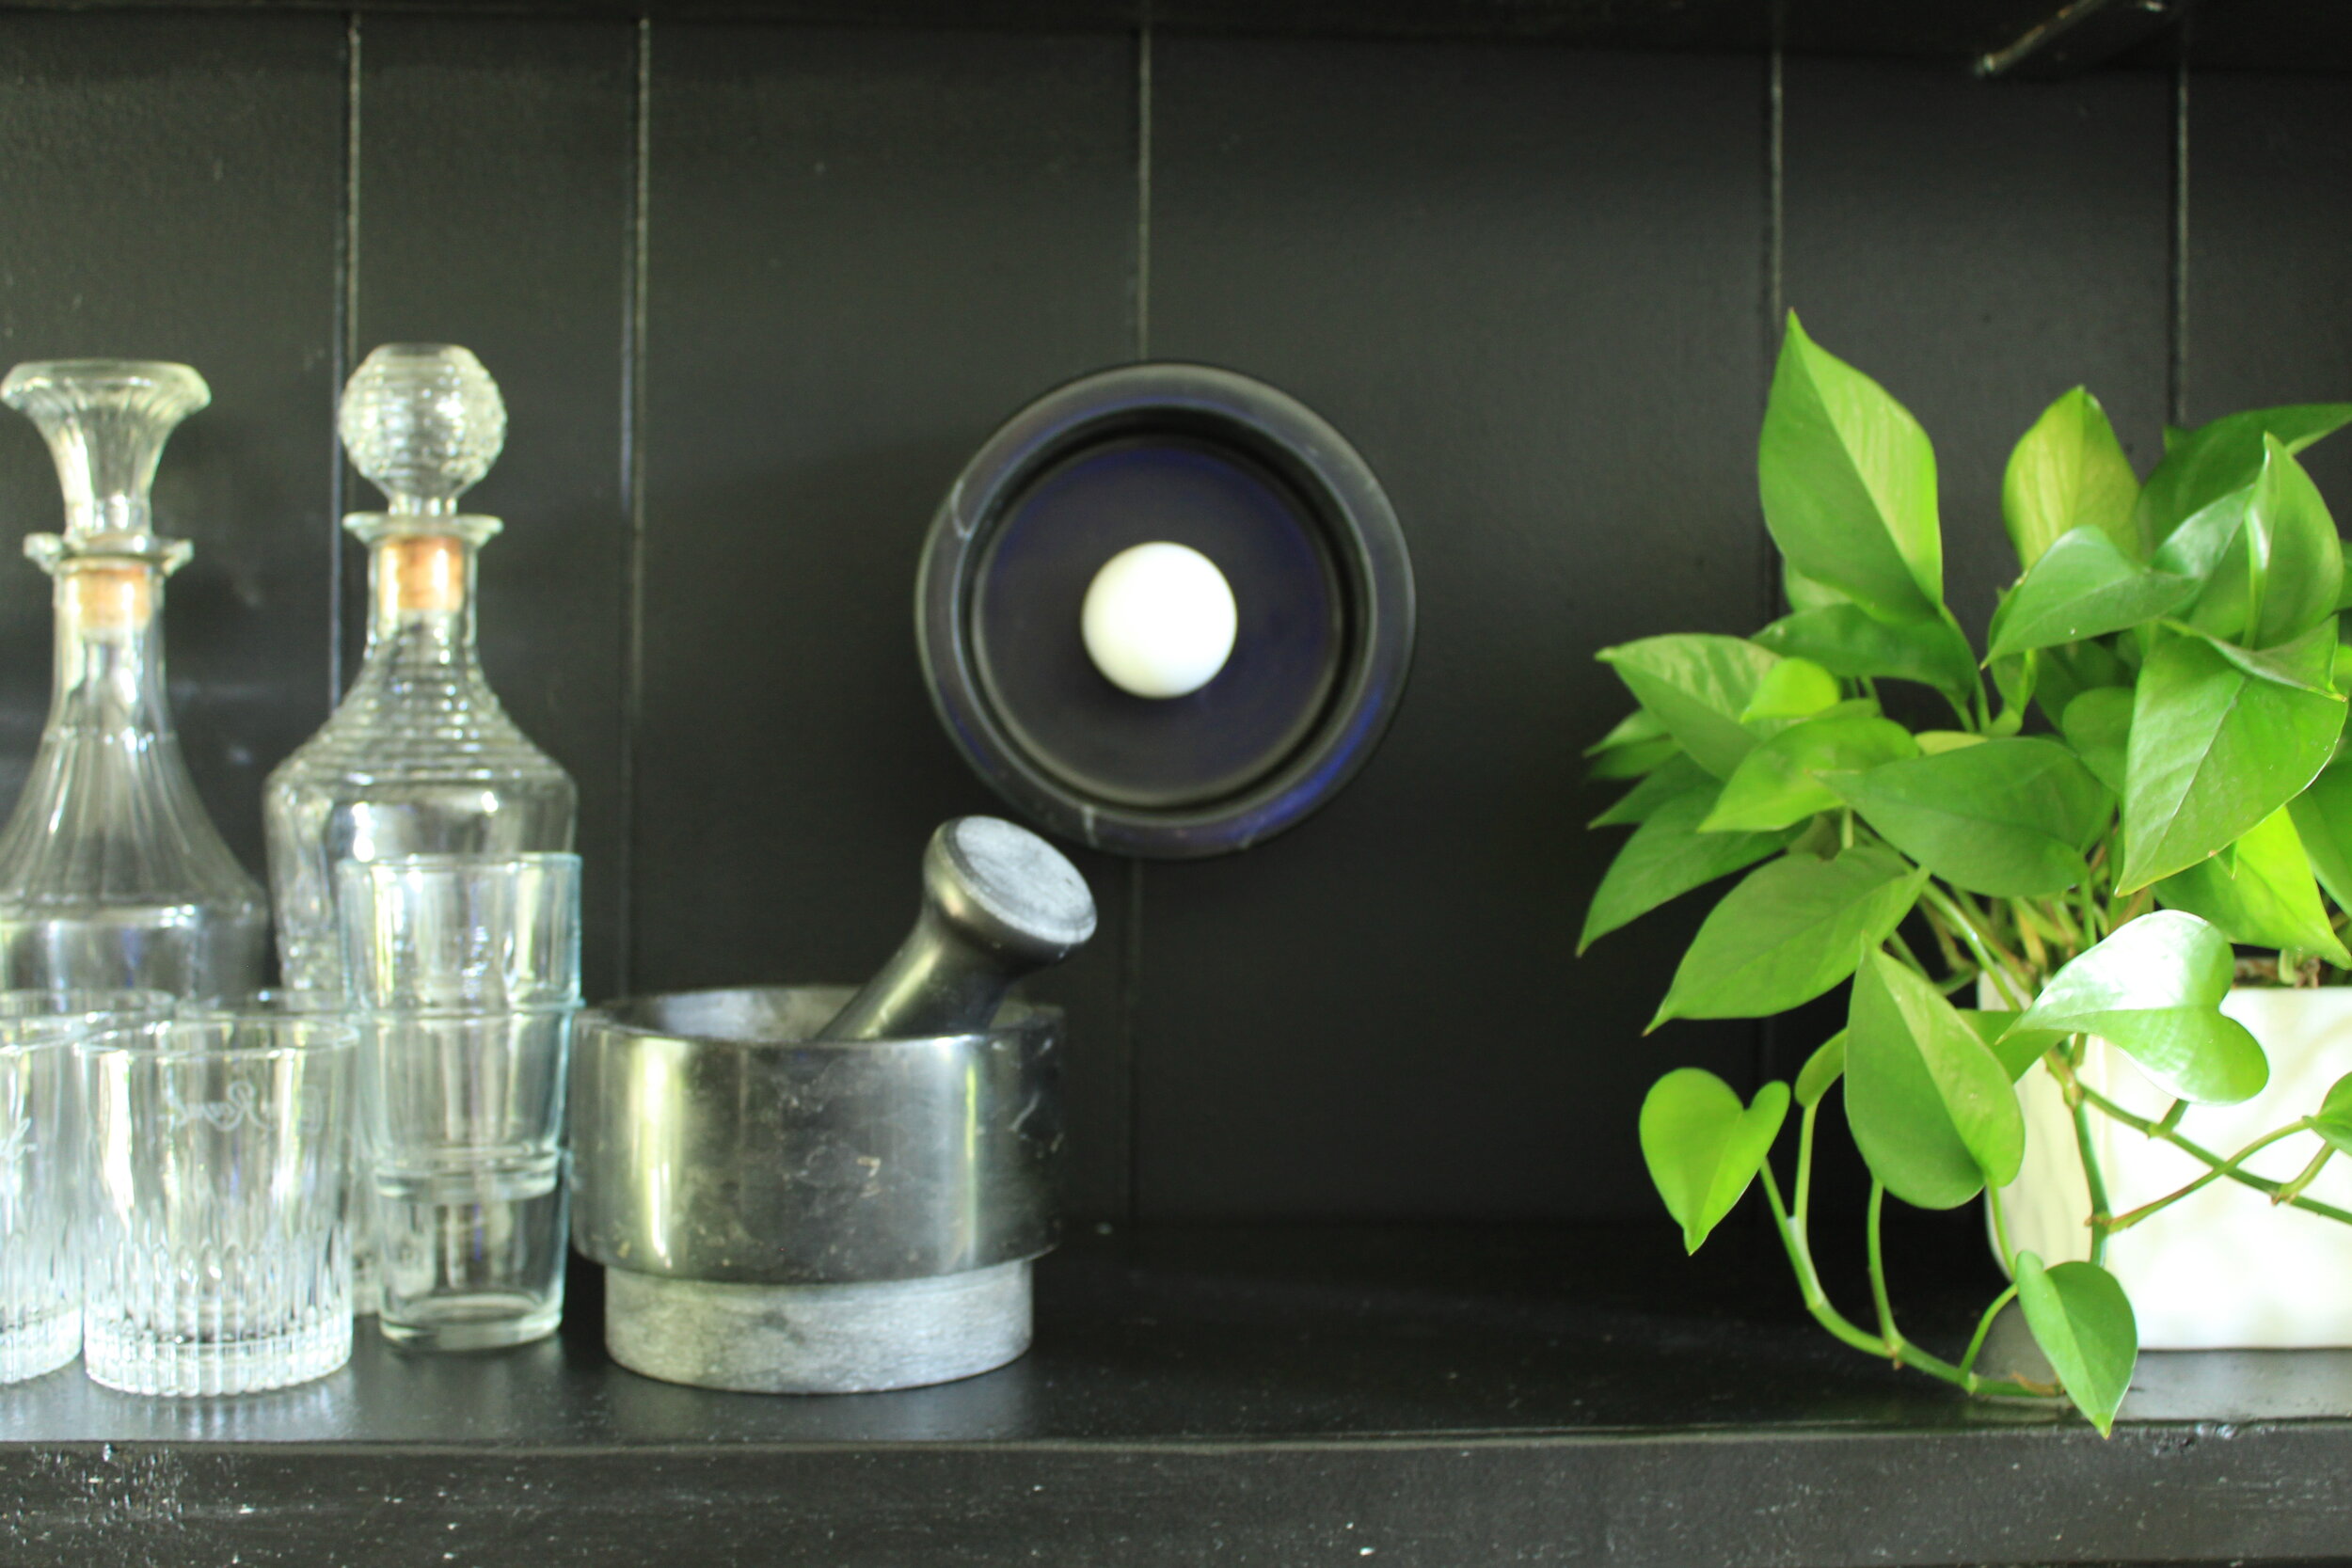

Once the lighting was in, I focused on making the bar as functional as possible. All of our liquors and mixes are grouped together on a vintage brass tray. Just within arms reach are glasses, fresh citrus, a marble muddler and other bar tools to mix up our favorite cocktails! The only thing the bar is missing is an ice machine and beverage fridge and, trust me, I’ve been trying my hardest to work those in, but it’s going to cost a grip! *Insert crying emoji!!!

The rest of the shelf space is used to display some of my favorite things. My plant babies, favorite decorative wares, artwork and special photos. I tried to stick with a neutral color scheme for all of the decor; items would shine against the depth of the black, but also give the black it’s respect as a stand alone element of the space.


So, cheers! Celebrating getting one of 3 zones “done”! Hope you guys are inspired and love this space as much as I do! If you’re wanting sources, MOST of the items you see are either vintage or really old and unavailable from their original source, but I’ve listed some similar items below if you’re wanting to create a similar look.

Paint: Behr Paint Limousine Leather
Shelves: 2 in. x 12 in. x 10 ft Pine Boards
Black Marble Sconces
Art by Monica Lewis Art
Or you can just shop by clicking the images below!