
Renovating my Dad’s Kitchen with QuicTile by DalTile!
Hey peeps! I finally get to share all of the in’s and out’s of what’s happening at my dad’s and the first major transformation is thanks to QuicTile by DalTile! QuicTile is a new product from world-renowned tile manufacturer, Daltile and is sold by The Home Depot! This product is a DIYer’s dream, because it can be done in 3 simple steps with little to no demo and completed in way less time (for less money) than a traditional tile job! There’s no need for cement board or buying or mixing mortar and there’s no wait time before grouting! The Home Depot site has a great video that breaks it all down here, but I’m going to walk you through the process of it all going down at my dad’s!
I told you guys a while back that I would be helping him transform his kitchen (in my childhood home) and that it hasn’t been touched in over eleven years! The funny thing about this reno is that it wouldn’t even be necessary if he and my mom listened to my suggestions and design advice when I came up with the design plan BACK THEN! I’m talking full mood board with colors, products and finishes specified. It’s a no fail if followed properly. Well, what did they do?
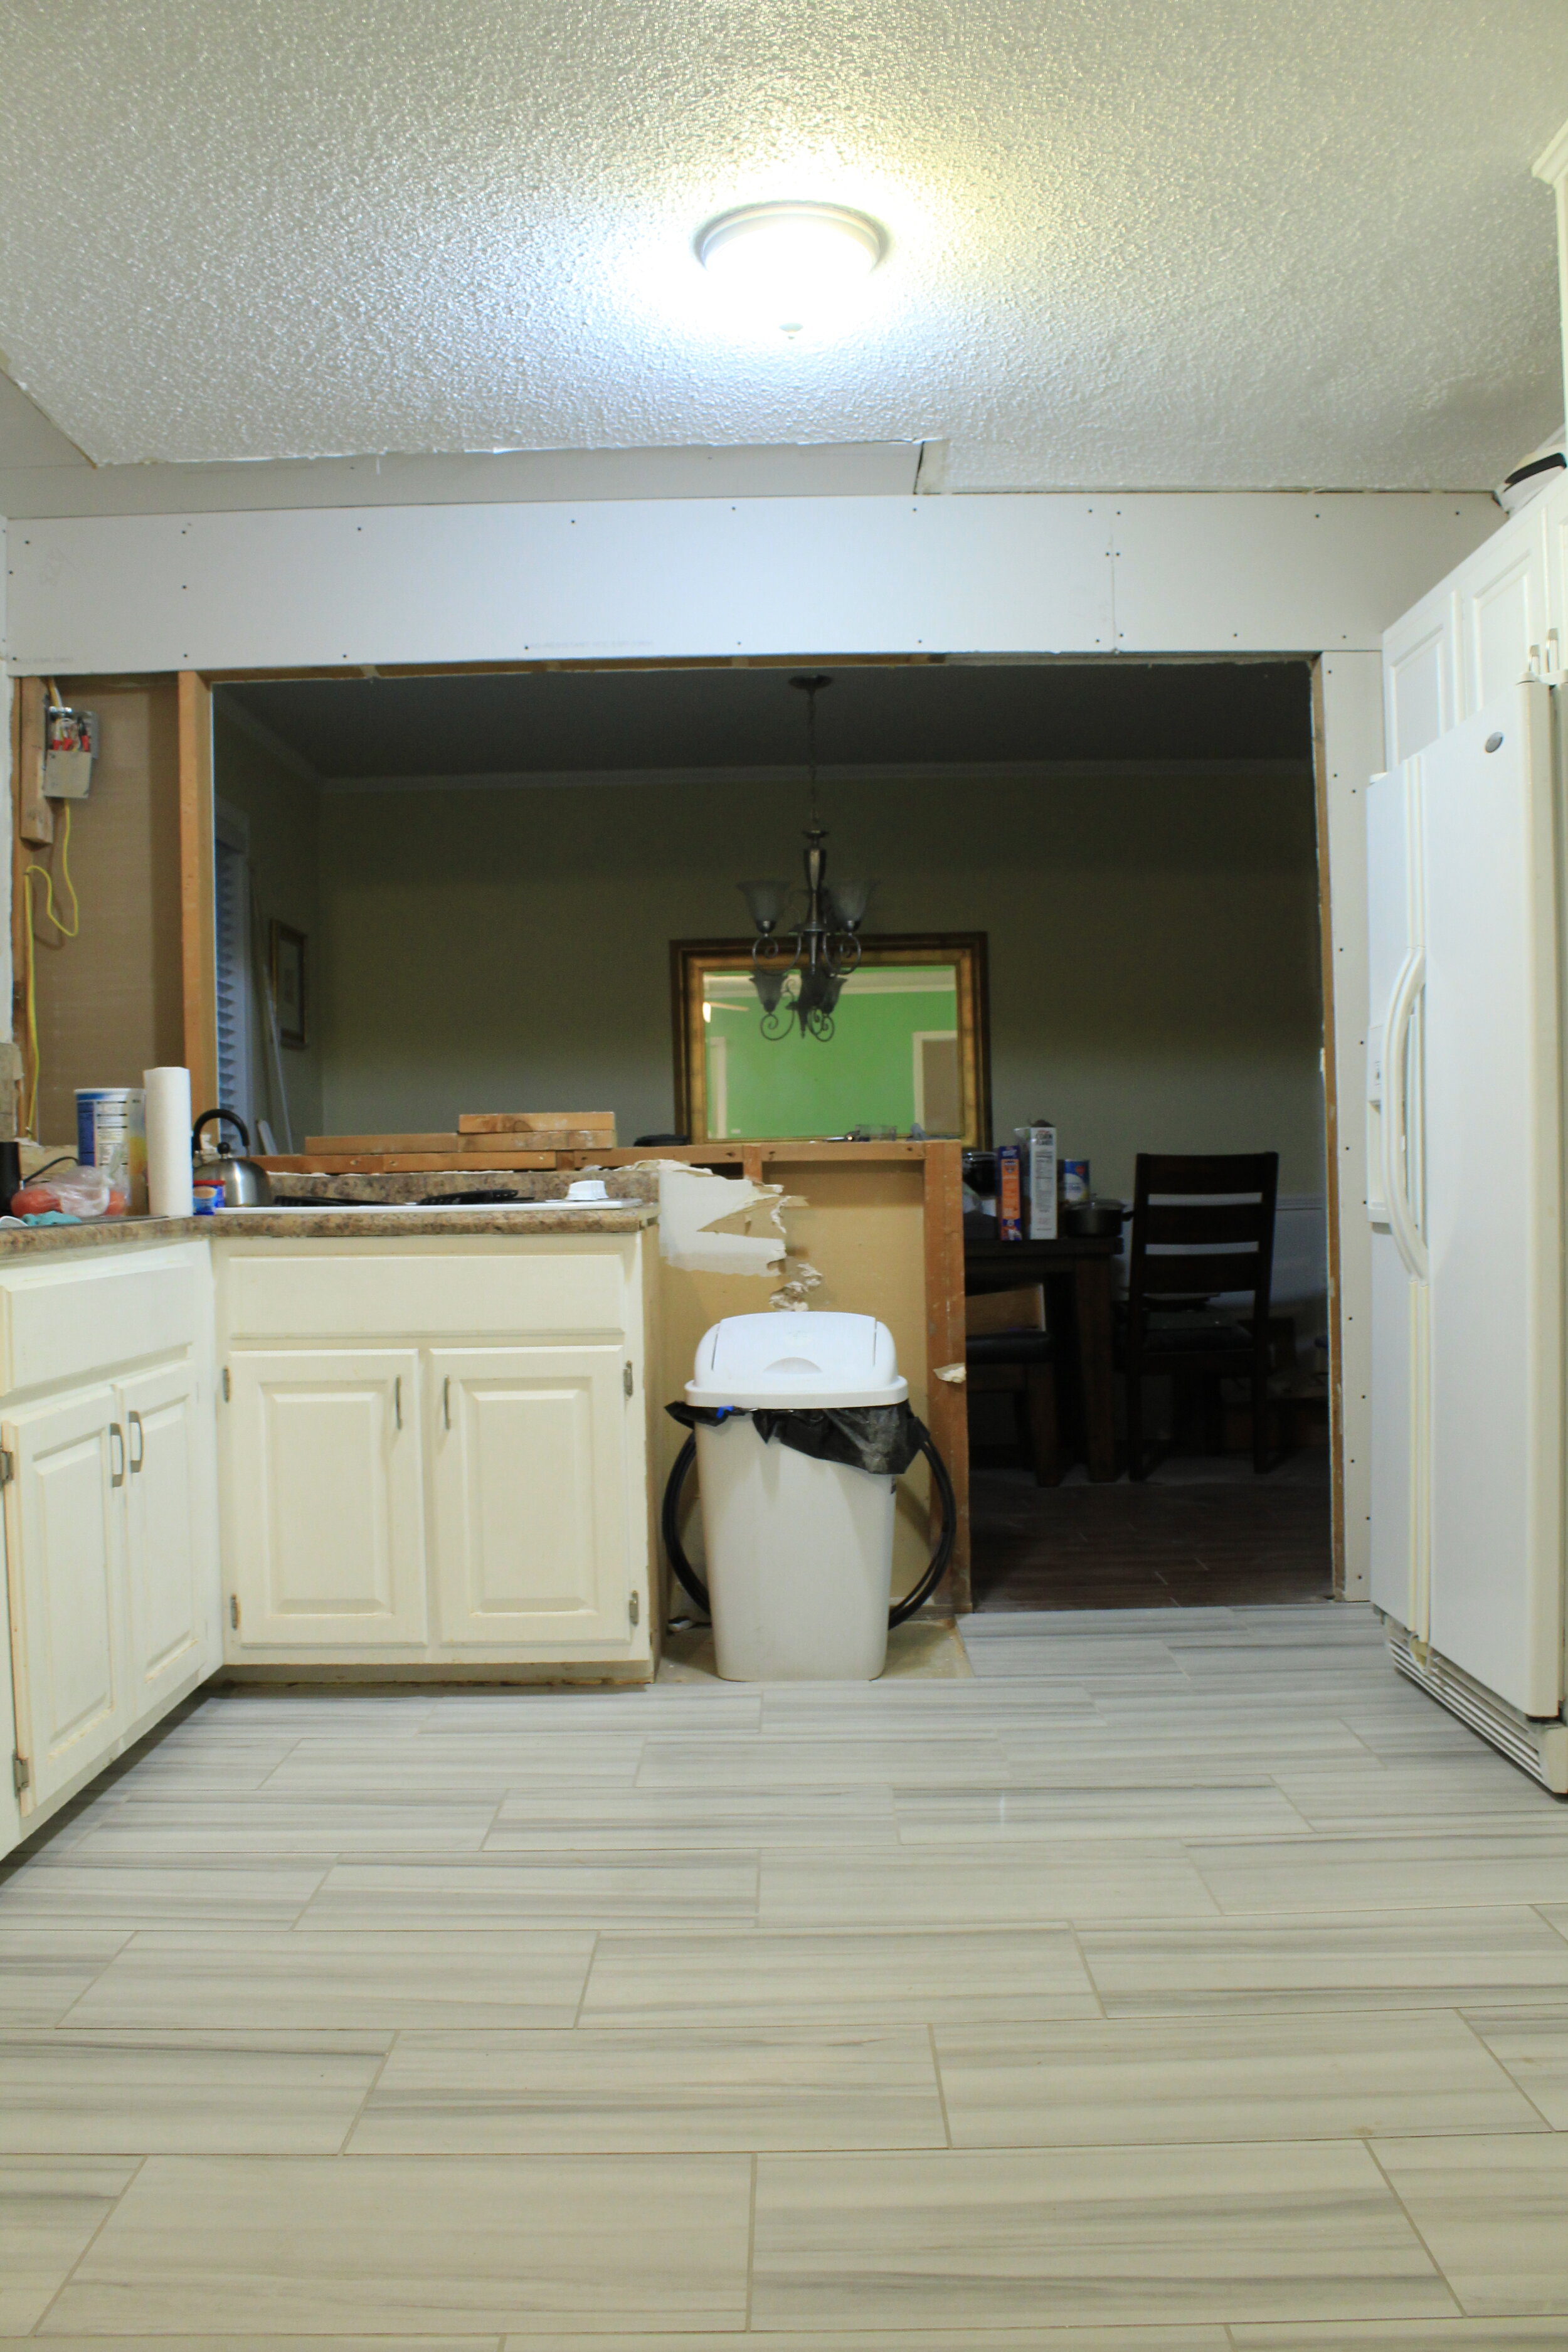
They only went with my color selections for the cabinets, which was white, and it was off the rails after that! I can’t find the actual design plan, but I remember every detail! White cabinets with brushed nickel hardware. Subway tile backsplash with gray grout. Wood-look tile flooring in a brown-grey tone that was warm, but still modern. And to finish it off, a warm gray paint color for all of the walls. This would’ve been the perfect update for their kitchen, then (and now), totally transforming it from sunflower yellow cabinets, appliances and linoleum floors! But, here we are, eleven years later, because this is what the kitchen looked like after ignoring all of my advice.


Yup! They did that! About a year of this reno, my mom passed away from breast cancer and the kitchen has been frozen in time ever since. So thank the renovation heavens that The Home Depot reached out to me a while back to try a new product, called QuicTile by Daltile! After checking it out, I knew it would be the perfect way to kick off my dad’s reno, because his builder-basic 90’s brown faux stone floors were first on the list of things that had to go!

Not only is it super simple to install, it comes in a wide range of looks to fit every style aesthetic! If I needed tile anywhere in my home, I definitely would’ve gone with the Panda Marble colorway. I love the bold and graphic black and white! But since we’re at my dad’s we went a bit less graphic and more tone on tone with the Horizon Marble Lappato colorway.

Since Dad’s existing floors were already (poorly) installed on top of the old linoleum, he wanted a fresh and clean foundation for his new floors. He decided to go ahead and demo the old tile, but remember, you don’t have to do that at all for a great QuicTile installation if you already have a hard, level surface. Just a pro tip if you’re thinking of taking on a project like this, we removed the baseboards, so that we could re-install them on top of the tile for a clean, finished look!


Since we were installing just around 300 square feet, and I had never installed tile ever in my life, I called in my favorite handy men, James and James, as back-up to help me get the new tile in quickly and properly! It was my first go with tile and it was their first go with QuicTile, so it was quite the learning adventure!
The guys moved out all the heavy appliances, like the refrigerator, while I laid out the underlayment. Its like a thin, foam sheet, so it was light-weight and super easy to cut. It took me no time to get the entire floor covered!

Once the underlayment was down, we figured out our pattern and start laying tile! QuicTile is a click and lock system that allows it to float on top of the underlayment, so there’s no need for traditional mortars or adhesives.
We decided on a 1/3 offset pattern, which was super easy, because each tile has a mark at 33% and 66% the length of the tile. When we made it to the outer edges of the room, we made our cuts using a traditional wet saw, which helped things go a lot faster.

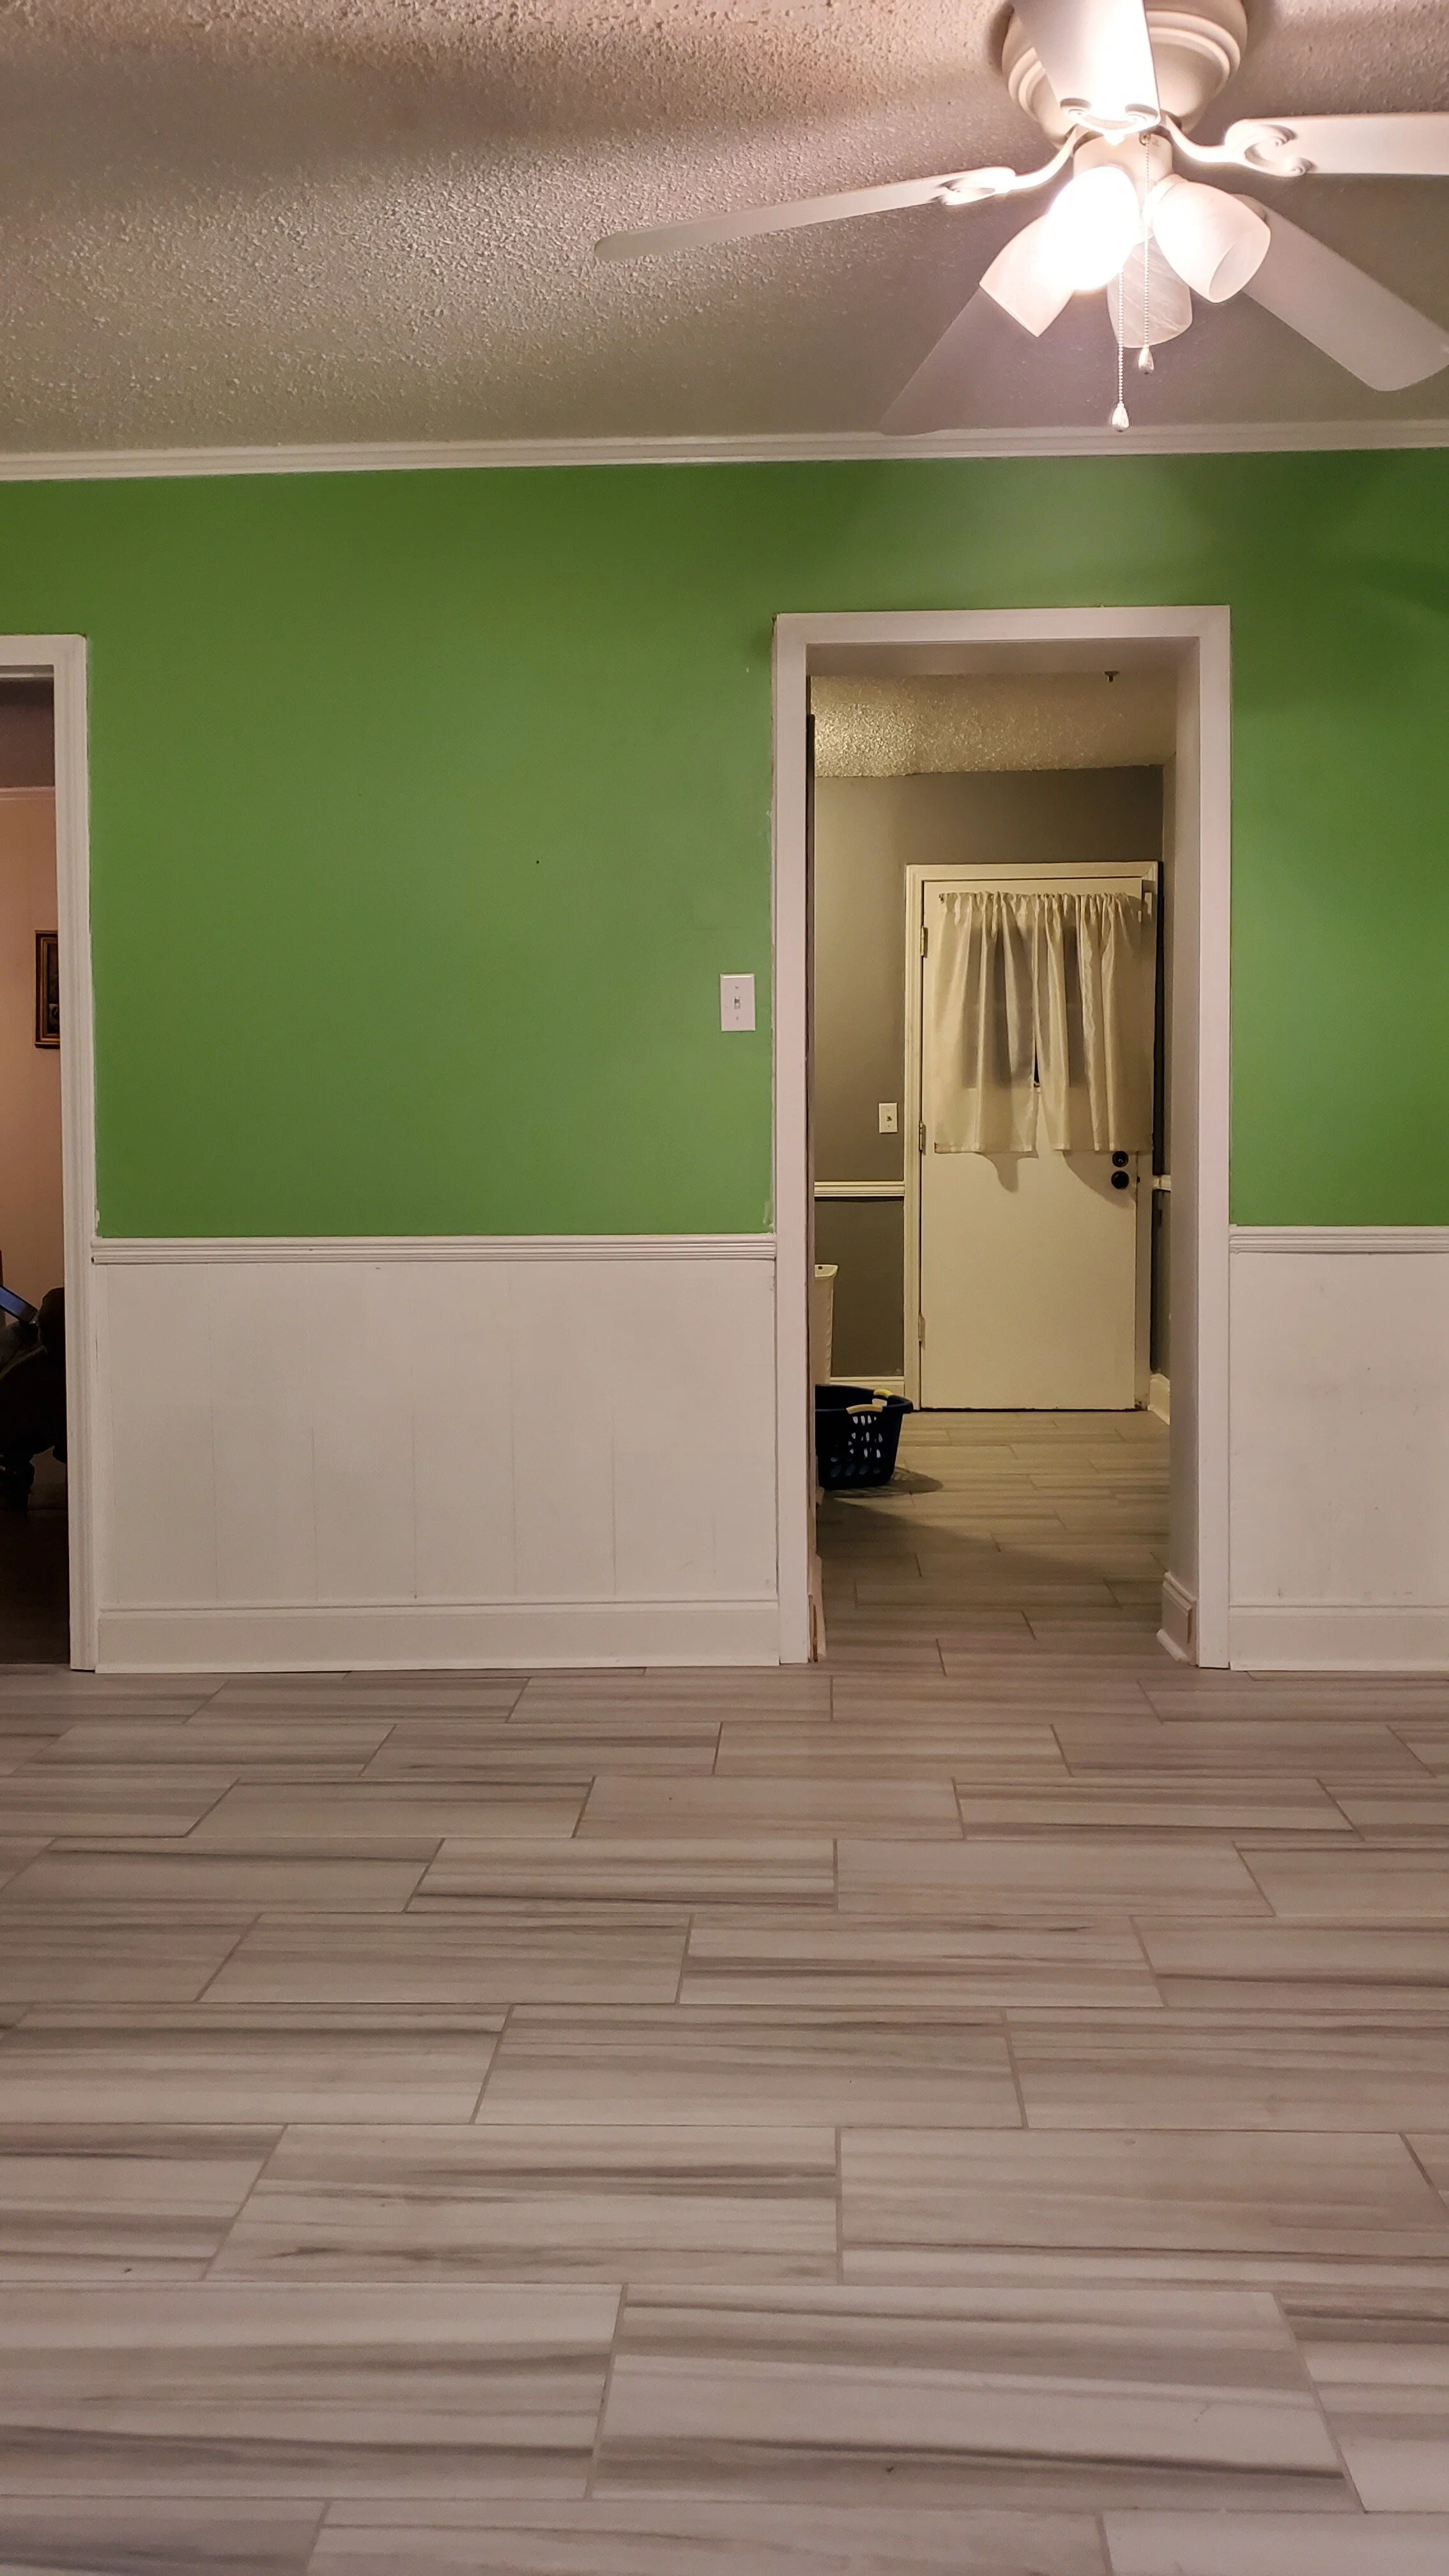
We installed the tile in the kitchen, mudroom and powder room, so there were lots of cuts, but we were done with laying a majority of the tile in less than 2 days! As soon as it was all down, it was time to grout! Even grouting was made easier, because there’s no mixing! The QuicTile system has it’s own pre-mixed grout that’s sold by the pail and you just grout like normal, pushing the grout into the gaps between each tile. You allow the grout to dry for at least 24 hours and then your new floors are ready to walk on!

I posted a video to my IGTV of the full process! You can check it out here!
Dad’s kitchen is a much larger scale project, but just imagine how fast this project would totally revamp a small powder room or an entryway! You could knock it out in as little as a day with QuicTile!
Be sure to check back on the progress of this kitchen! If you watched the video, you’ll know that there’s quite a bit more to come!!!
*This post is sponsored by The Home Depot. All thoughts and opions are my own.