
"DIY" Medicine Cabinets
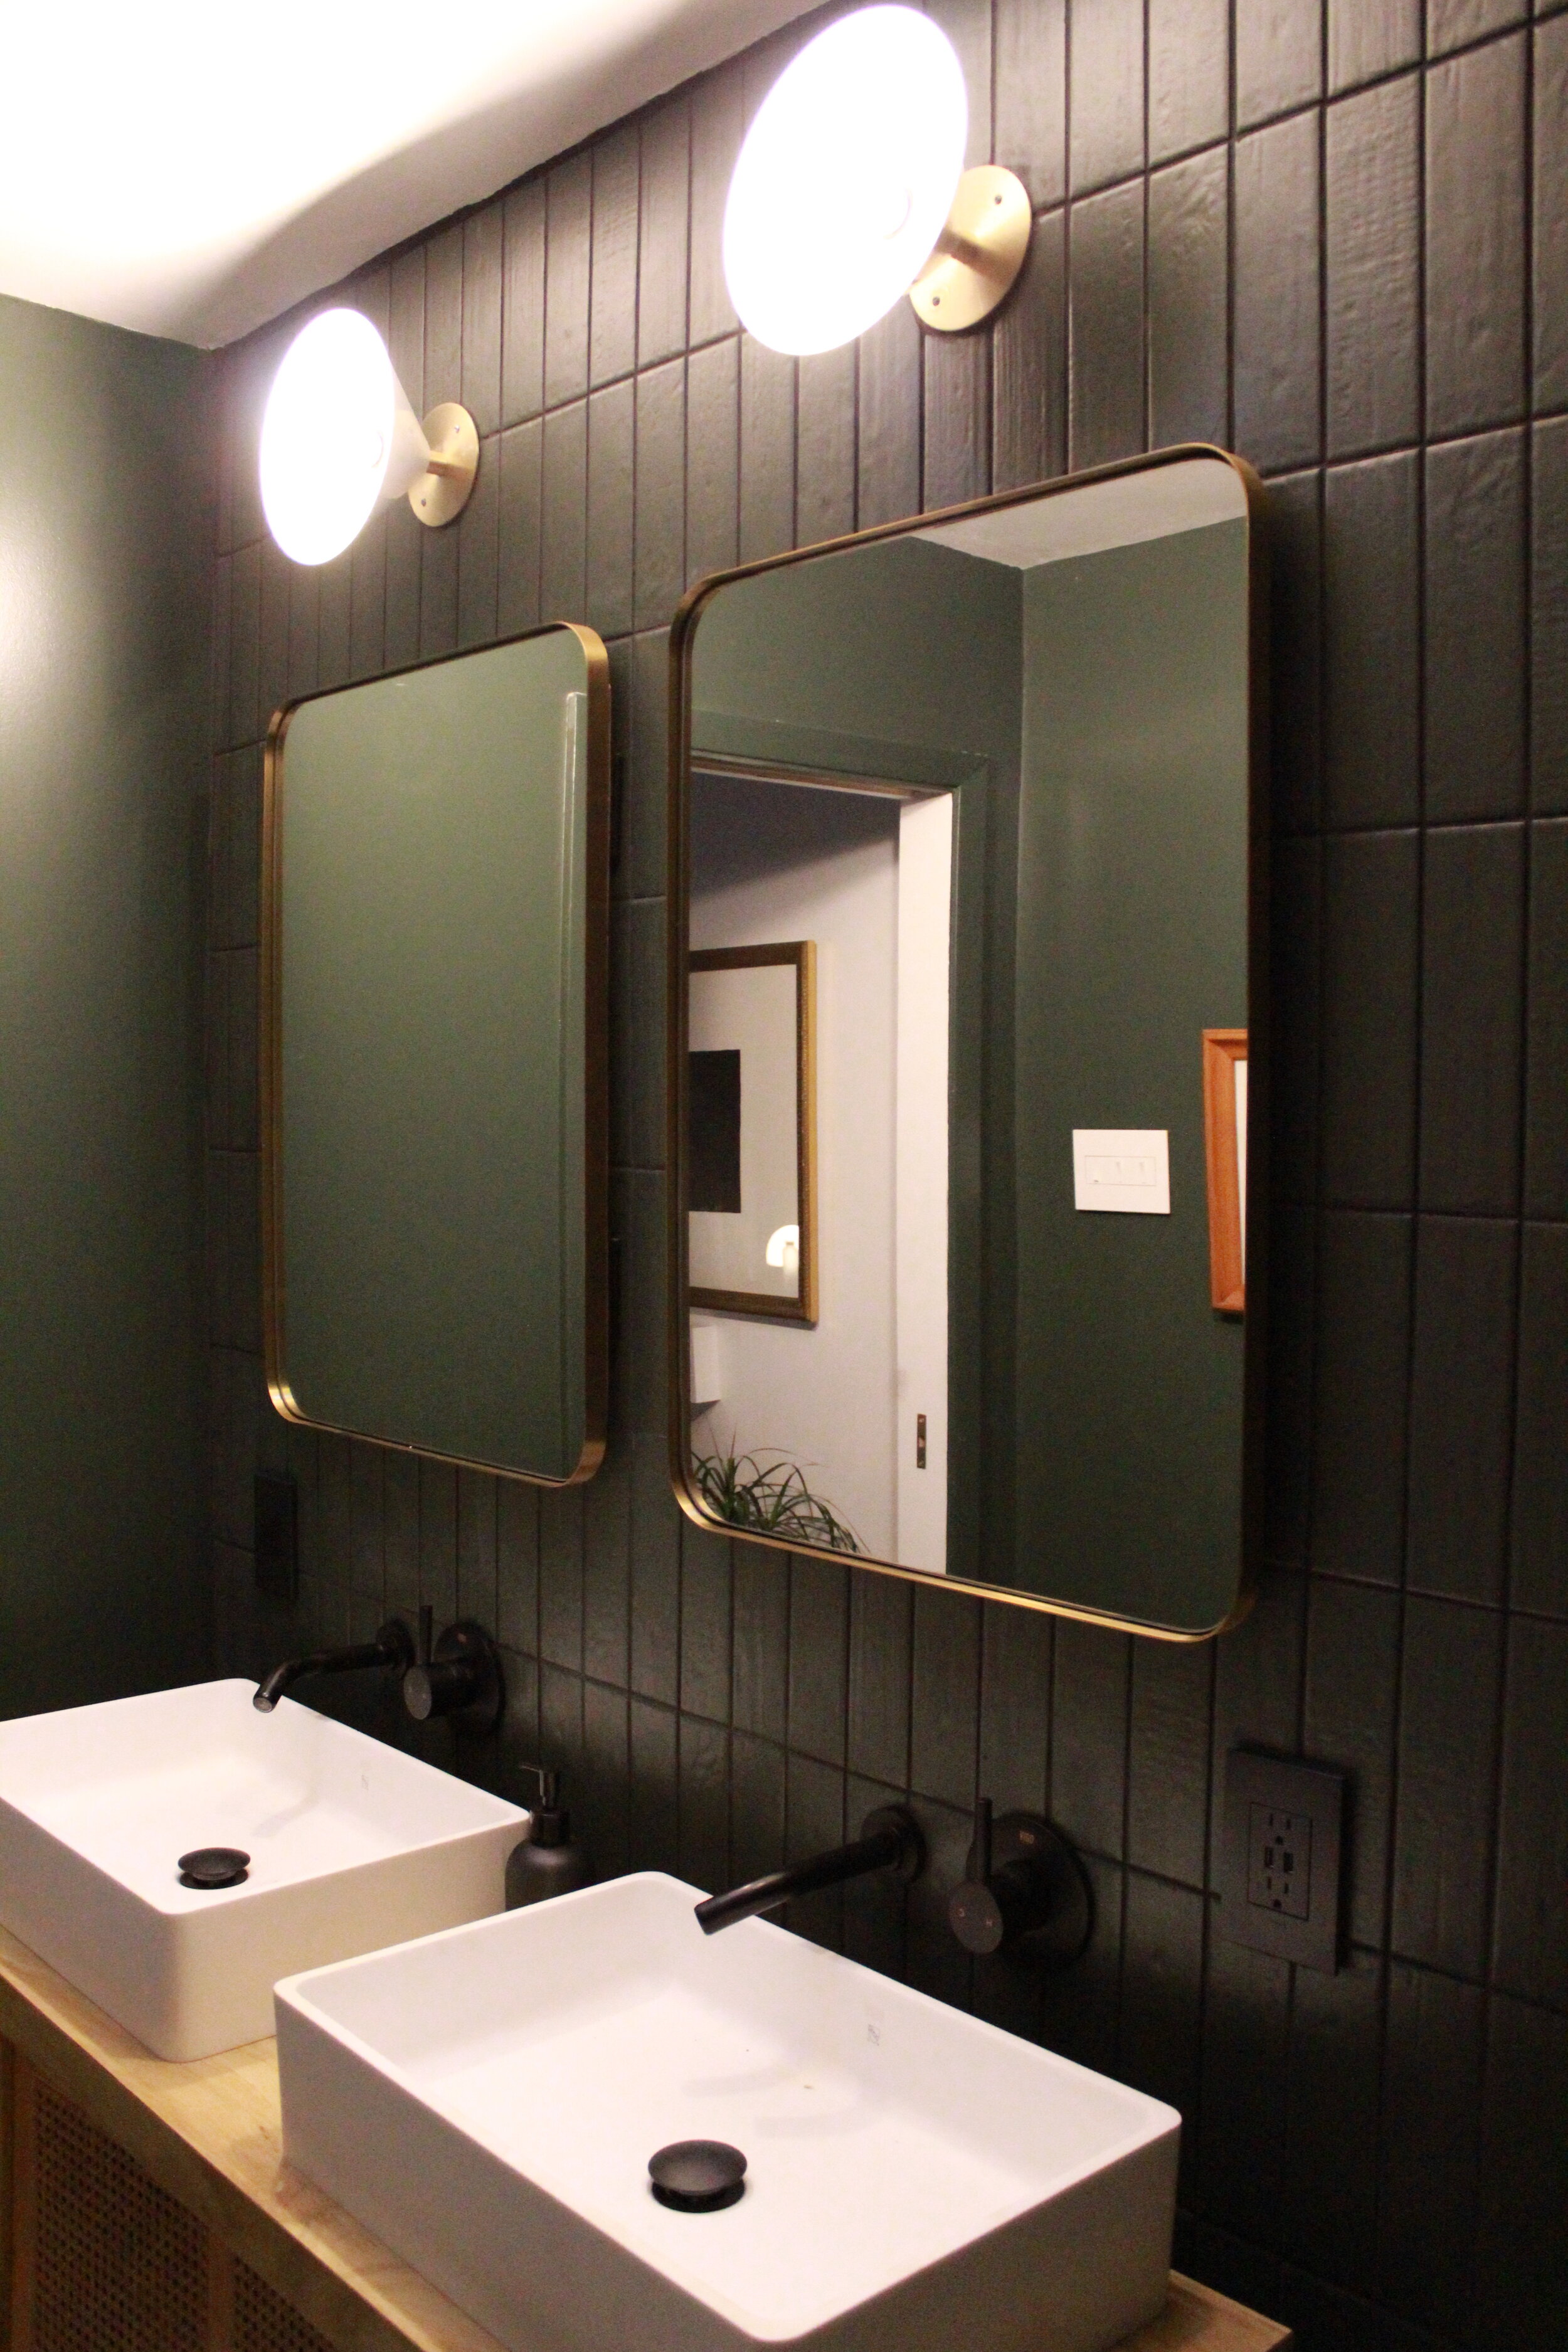
But before we start, a disclaimer: I took these photos while we were still going through plumbing repairs, so our faucets and handles look all topsy turvy. They won’t be this way much longer.
I got a lot of requests for this breakdown and being one that aims to please, let’s get right into it!
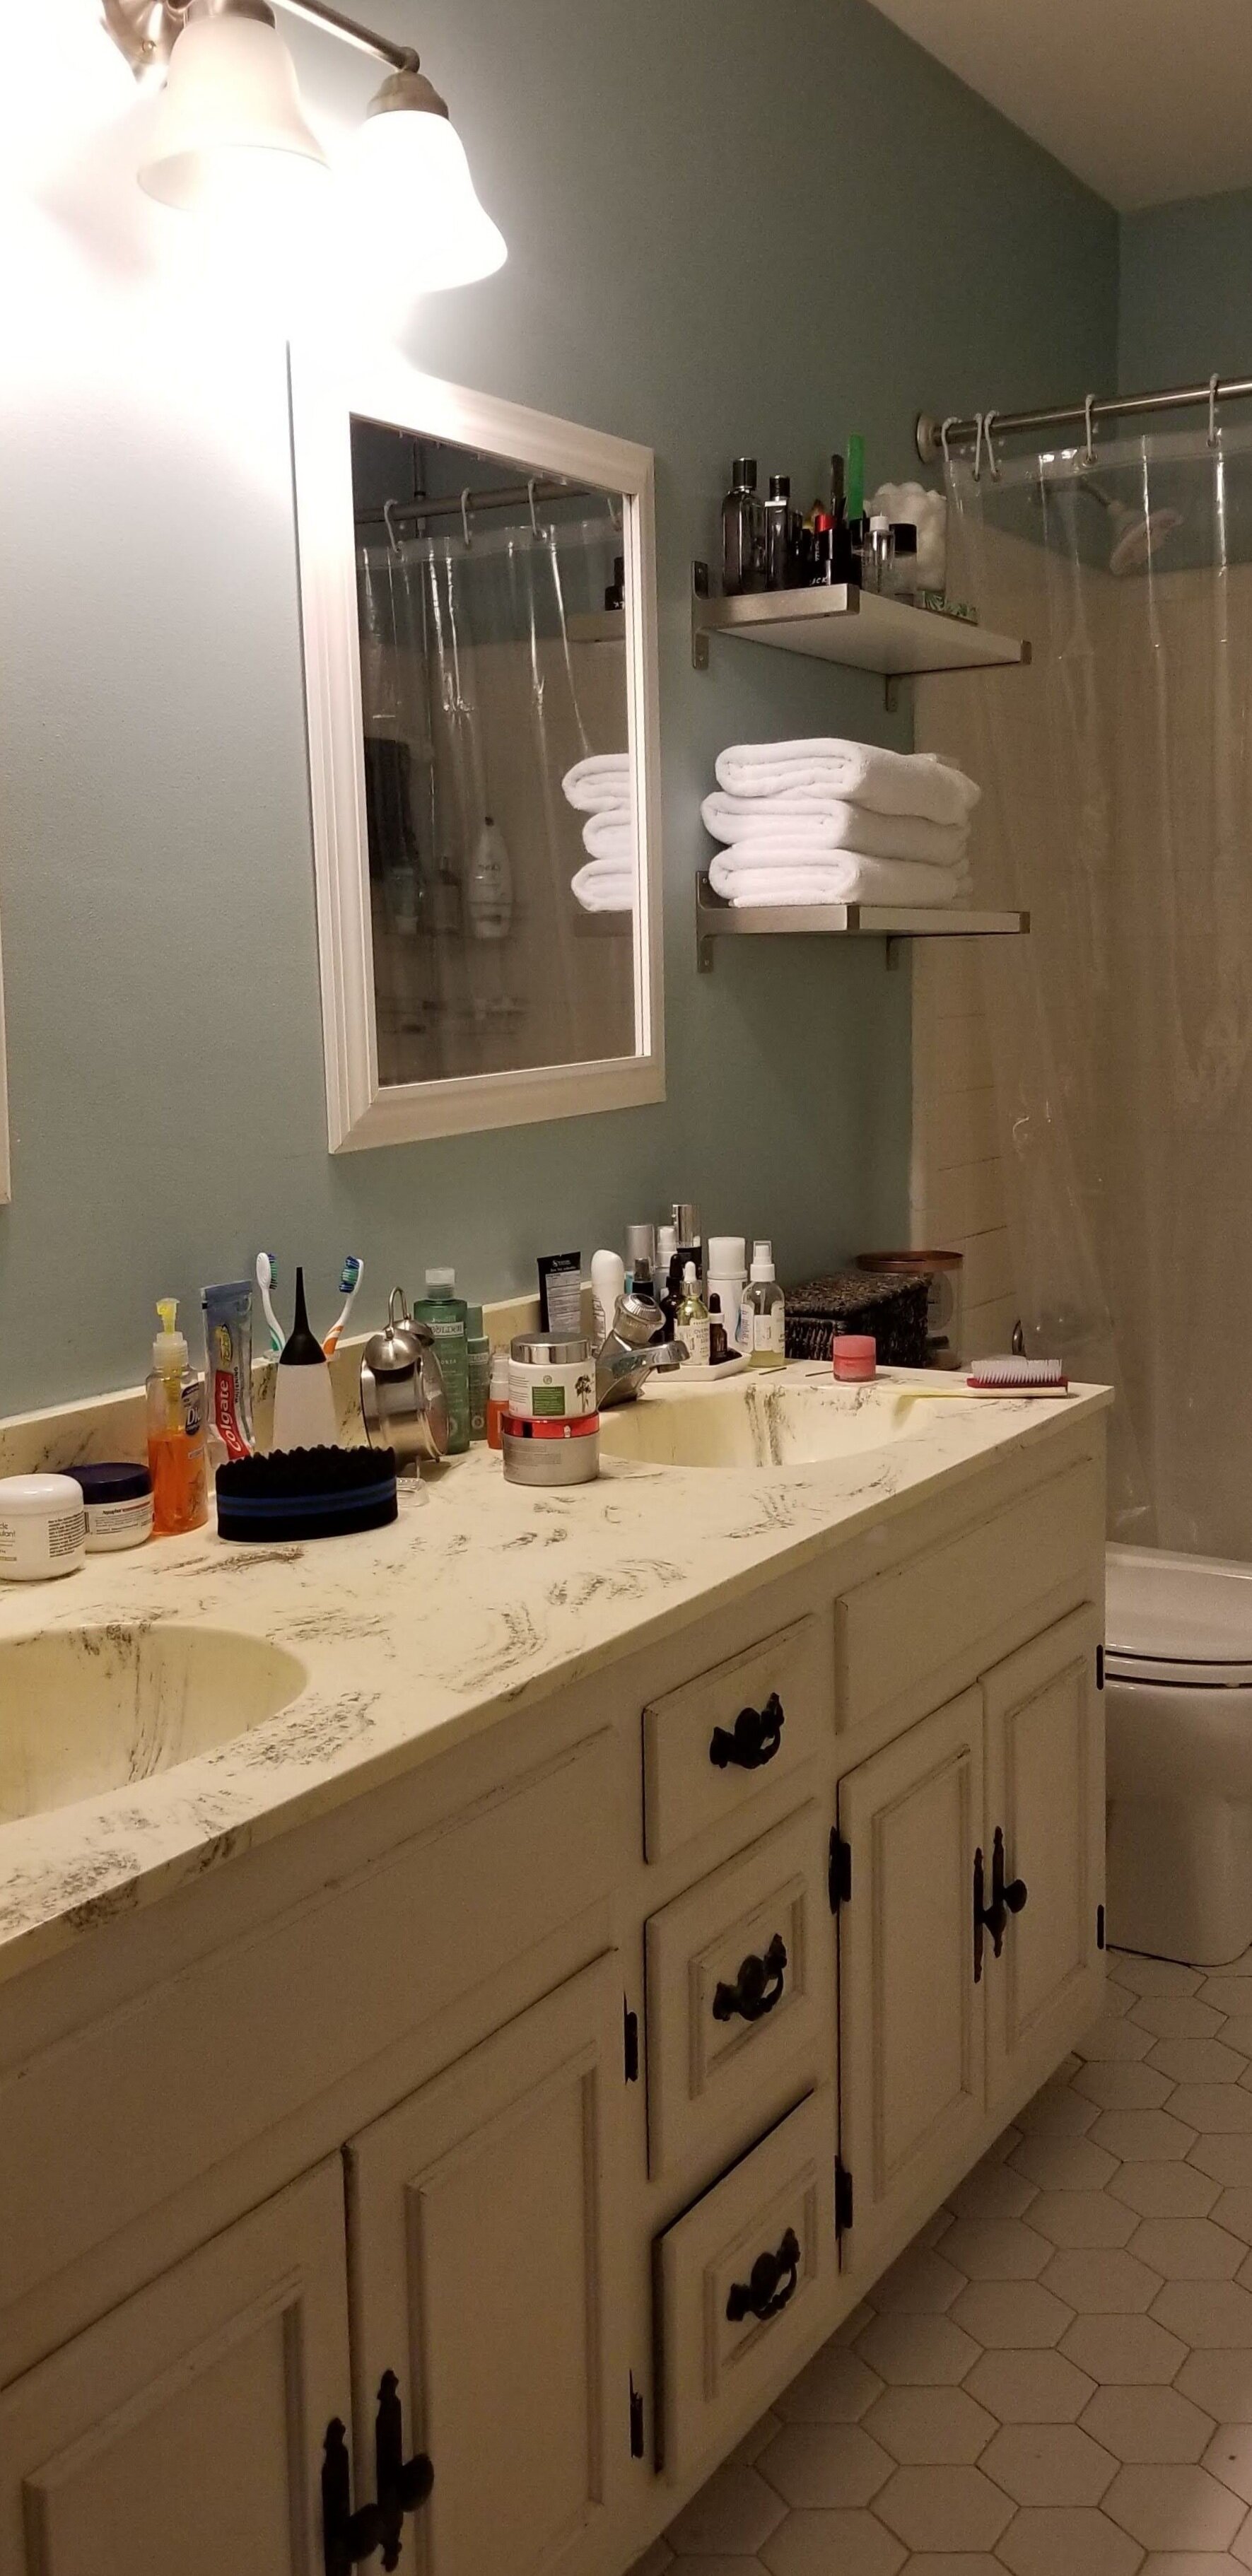
So, you may recall, when planning our bathroom renovation, I really wanted to incorporate as much smart storage as possible. I wanted to combat the problem of having our entire lives worth of toiletries living on our countertops.
Initially, I had I sights set on these lighted medicine cabinets from Kohler. These guys are quite literally the Rolls Royce of medicine cabinets. Not only are the lighted fronts dimmable, the cabinet interiors are fully mirrored on the inside, so you never loose site of yourself when your doing your hair or putting on your makeup. And I’d be remiss if I didn’t mention the best part…that they come wired with an interior outlet! It would’ve been a dream come true, but things happen and they weren’t in the cards for us and our reno. Next time!
Since the medicine cabinets of my dreams didn’t work out, I had to come up with a back plan, because I wasn’t giving up on the opportunity of hidden, multi-functional vertical storage. I remembered being blown away by a bathroom reno by Dabito where he created a niche above his vanity and covered it with a hinged mirror. I thought the idea was genius and knew that was the best solution for our bathroom. The only thing was, I had no idea how he did it! I had to put on my engineering hat.
First things first, I had to figure out placement. I had been working on the placement of the vanity and lights for weeks, so I knew where the mirrors needed to be centered. Once I nailed the placement of the lights, vanity and center of the mirrors, I could gauge what size mirrors I needed to have. Knowing the size of the mirrors helped me determine how big the niches could be. So, having all of that in mind and mapped out, once the space was demoed down to the studs, I started planning things out with my contractor.

It’s important to understand the support needed for the weight of the mirrors. I knew that where the mirrors were going, we needed to beef up the studs. While the walls were open, I had the carpenter add blocking in between two studs where my center line of the vanity would be.
Warning: don’t hate me because I already hate myself. For whatever reason, I never took a single photo or video of the blocking and framing for the niches! :( I know! I don’t know how this happened! I was, however, able to grab a few screen shots from videos that show a glimpse of them.


Hopefully, you’re able to make out some of the photos. If you couldn’t tell, we decided that the best place to put the niches were in between the studs that were closest to the areas that the mirrors would cover. The carpenter then put blocking in between the space that was in between the niches. And since they are just in between the studs, they aren’t centered on anything at all. Not the lights or the faucets. I didn’t mind, because I knew that the mirrors would cover them completely, making them look centered.
I know the previous pictures suck, but I have much better photos of them once they were drywalled.

The one on the left is 4 inches deep since it sits within a normal wall with 4 inch studs. The one on the right is 8 inches deep since it sits in what’s called our “wet wall”. This wall contains all the main plumbing of the house so it’s twice as deep with double studs (two 2 x 4’s side by side).

Alrighty, once your niches are drywalled, painted and in my instance, tiled, it’s time to get your materials together.
Mirror of your choice (here’s ours); I loved the rounded corners and knew they would add a bit of softness to all the straight lines we had going in the space.
2. 1/2 inch-3/4 inch thick plywood; totally depends on the weight of your mirror. A good rule of thumb is the heavier the mirror, the thicker the plywood. My mirrors are less than 30 pounds and we went with 1/2 inch plywood.
3. Construction grade adhesive (this is my fav); Be sure to read the instructions!
4. Door hinges; I bought these in the black finish (couldn’t find the black online) and the inset design is perfect for this type of project. Another rule of thumb is the heavier the mirror, the bigger the hinges have to be or the more hinges you need. If you read the back of the hinge package, there’s a guide for how many hinges you’ll need for the weight of your mirror. I need two for each of mine.
Once you get your mirrors, you’ll want to measure and cut your plywood to fit behind the mirror with no more than a 1” clearance from the hing edge. If you give too little clearance, you’ll see the edge of your hinges. If you give too much clearance, you won’t be able to open your mirrors very far. I wanted the plywood to “disappear” behind my mirrors, so we cut it to be 1 inch smaller on every side. Our mirrors are 22” x 30”, so we cut the plywood to be 20” x 28”.
We spread adhesive all over the back of the mirror and covered it with the plywood. We cheated the plywood over about a half inch on the hinged edge, since it was just enough to keep the plywood and hinge hidden from front view. Once the plywood was placed, we reinforced the plywood to the back of the mirrors with 1 inch screws.
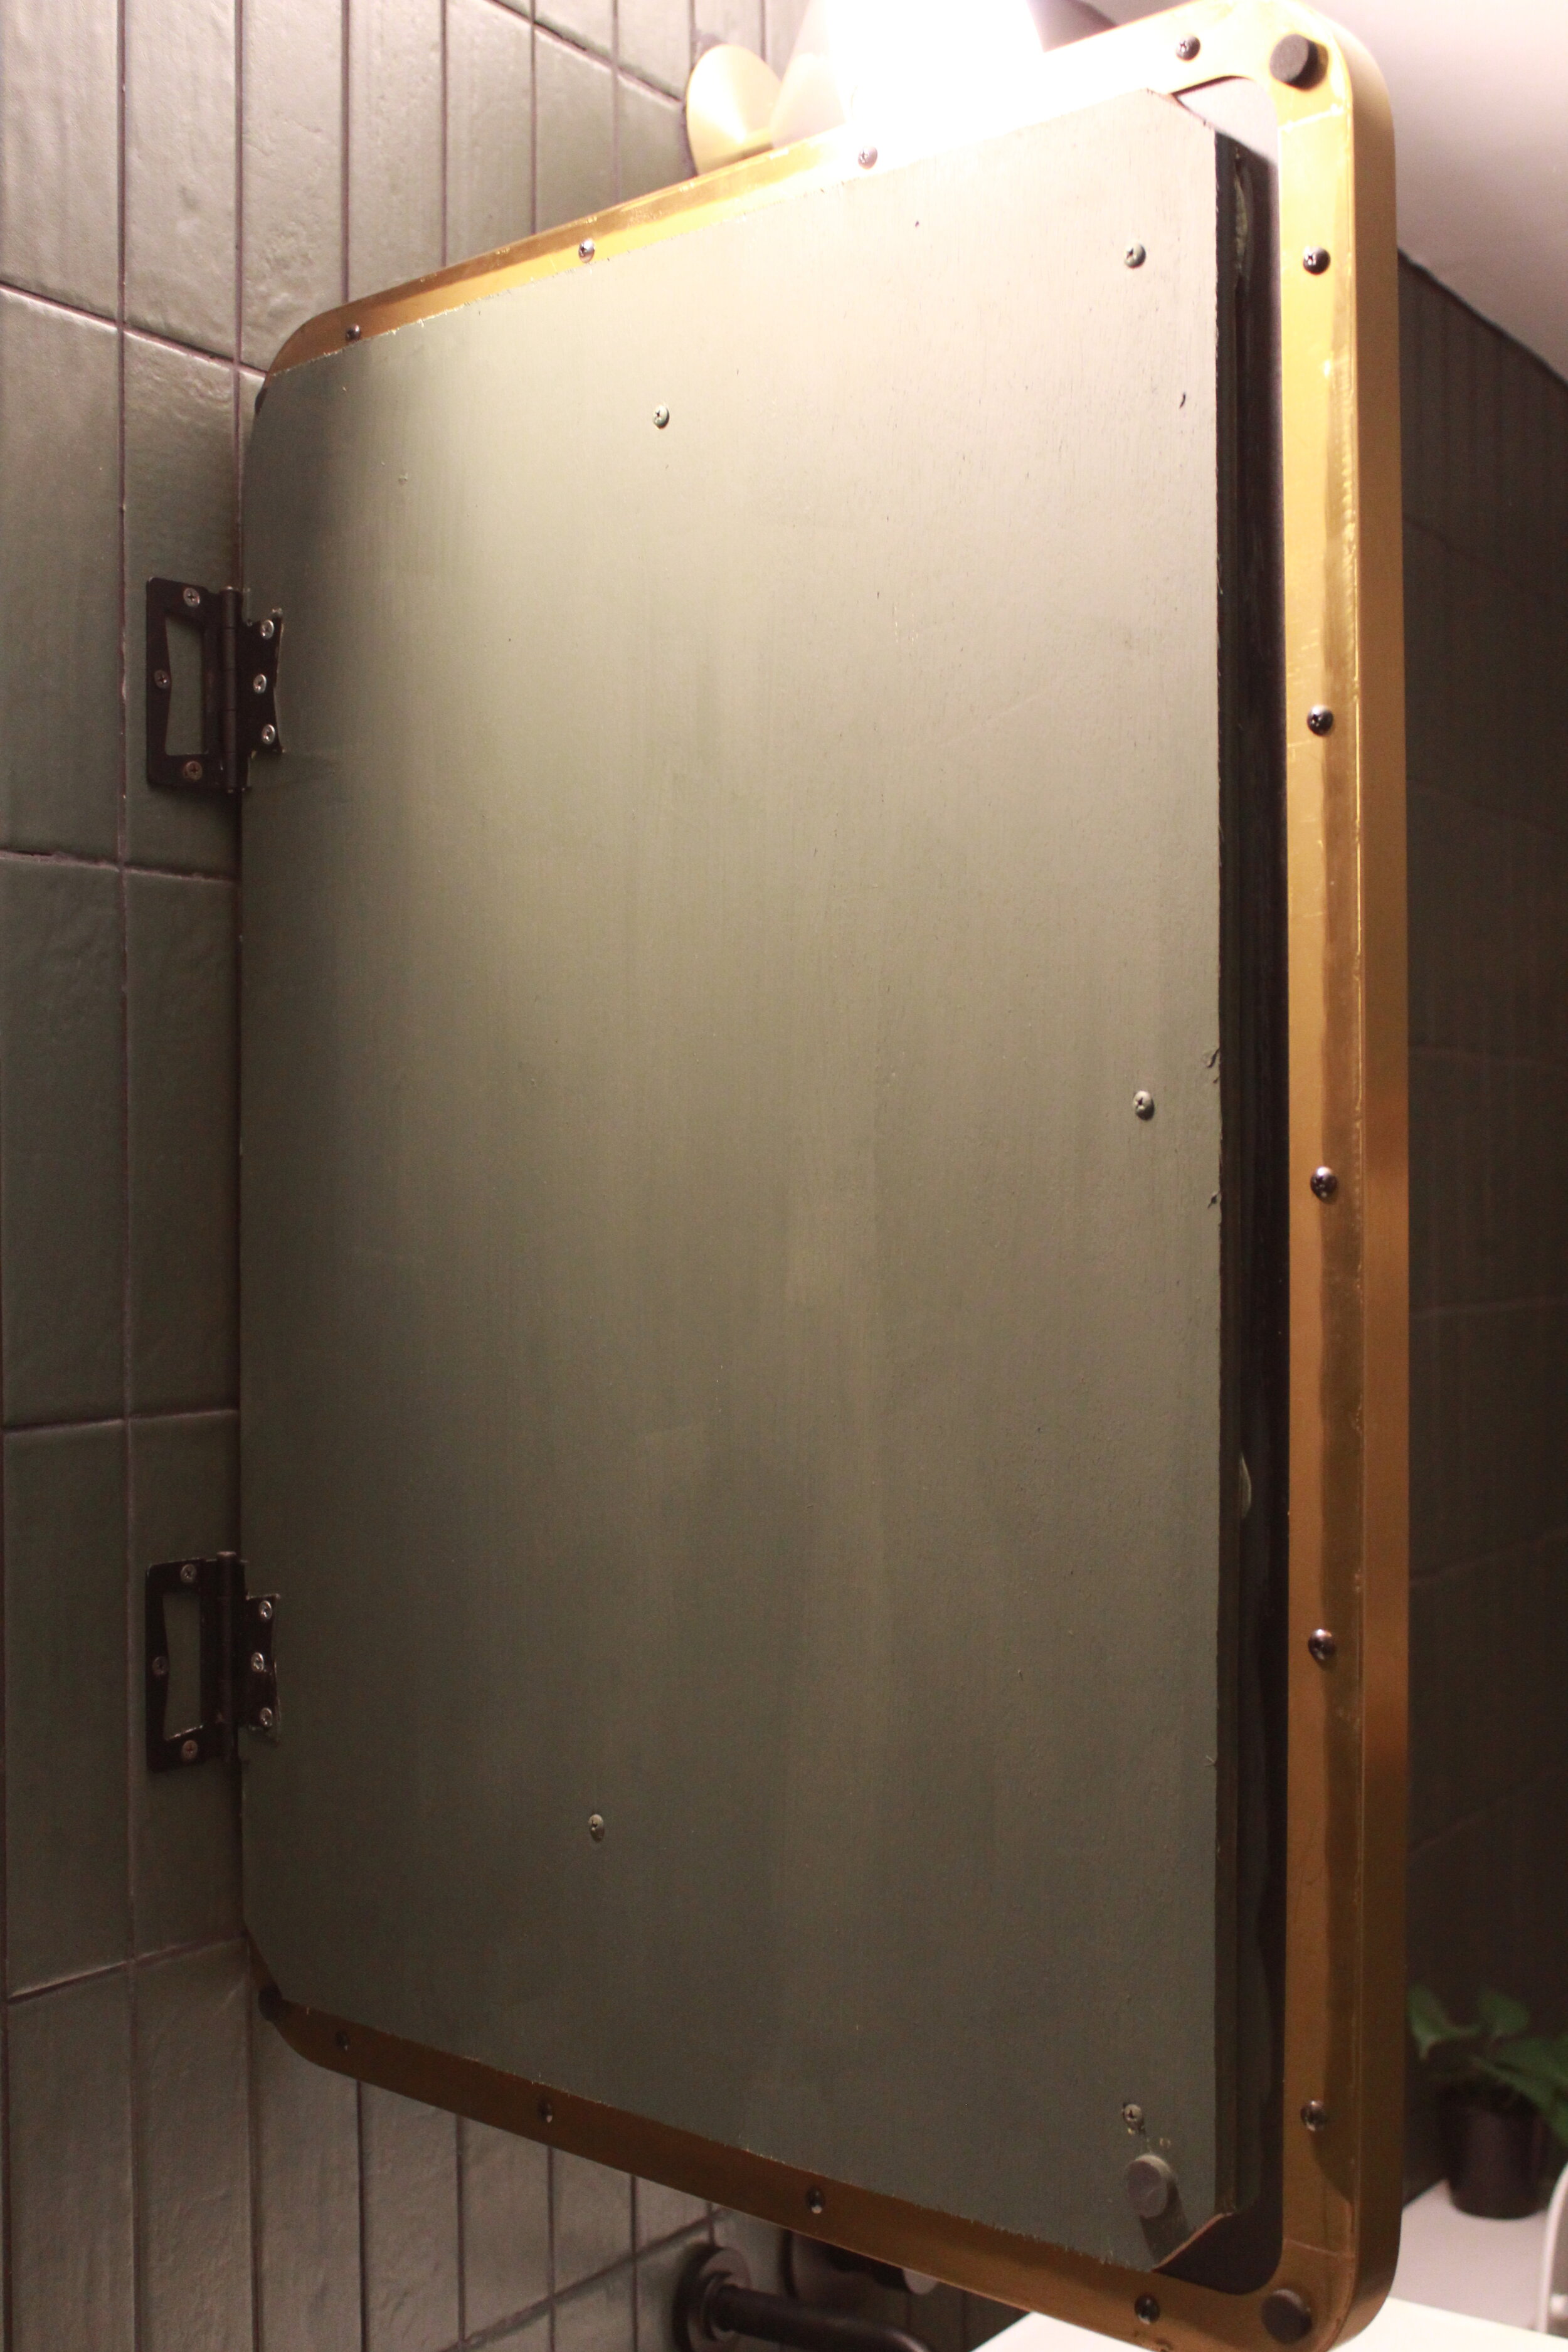
The opposite edge is less critical. We have almost 2 inches of clearance on this edge, which is great. It acts as finger clearance to pull them open.

Once the plywood is secured to the mirror, you an attach your hinges. For the adhesive we used, we had to let it dry for 24 hours before we could hang them. In the meantime, we pre-drilled our holes into the tile. This is such a critical step and made hanging the mirrors that much easier!


Once the adhesive was good to go, we secured the hinged mirrors to the wall with 2” wood screws. We wanted them to be long enough to make it past the tile and drywall and into the studs. We had a bit of a scare after the initial hanging. One of the mirrors was higher than the other. I had a mini panic attach, thinking I would have to put more holes in the tile, but remembered to just lower the hinges on the mirror. Problem fixed!

Once the mirrors were up, one of them had no problem staying closed, but the other would not. I picked up some heavy duty 1 inch round magnets, glued one to the back of the mirror on the corner of the plywood and one to the wall. Even though only one of them had the problem, I put them on both mirrors. Problem solved!


For the inside, I wanted to use acrylic shelves so that the light made it all the way through. We customized the height of each shelf to fit exactly what we needed.


As if I hadn’t though of the idea myself, I had a ton of people asking why we didn’t put outlets inside the niches. That was absolutely the plan in the beginning. But, when we had to go in between the studs for the niches, all 4 sides of the perimeter are blocks of wood. The backs of the niches are actually the wall of our closet an 2nd bathroom, so there was no way to put them in the backs. It turned into something much more complicated than what we had expected, so we had two outlets added right below them.

Hubs doesn’t use his Waterpik often, but when he does, he an easily plug it in as needed. The mirrors can even be closed while it charges.

And there you have it! They are by no means perfect, but they function perfectly! We have hidden storage that we didn’t have before and all of our daily necessities are off the countertop, but still within reach.
