
DIY Gift Wrapping Paper

A few years back I got the great idea to DIY my own wrapping paper. I love to hand paint murals (there are several of them throughout my home), so I thought, why not try it for this? It was so simple to do and was a BIG hit: everyone went crazy over it!

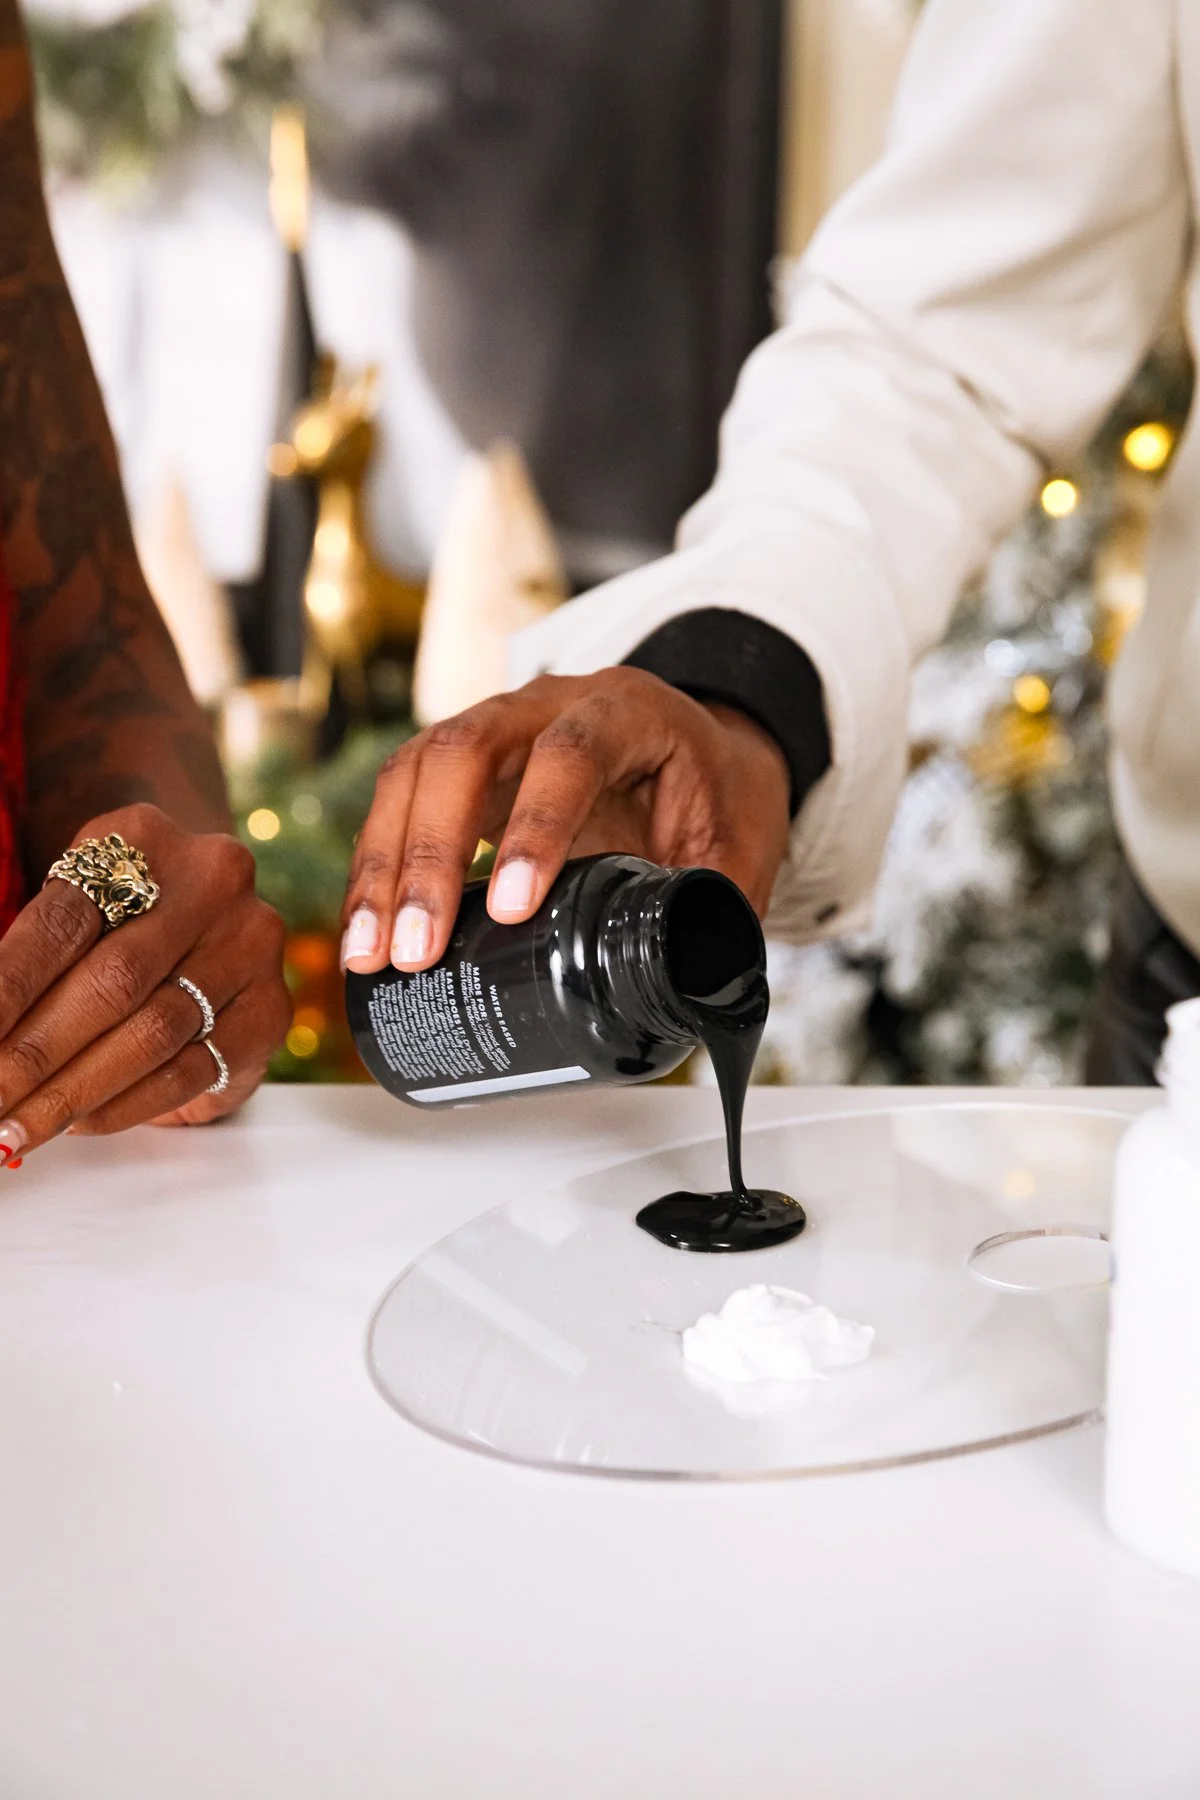
The supply list for this craft is VERY simple: all you need is:
Roll of Butcher/ craft paper
Paint
Ribbon (velvet would be so luxe for the holidays)
Sharp scissors
Tape (pro tip: use double sided tape)
Sprigs/ accessories for the finishing touches
Your imagination!
First, size your paper according to the gift that you are wrapping. Paint your design ON the roll before you cut it to make it look extra professional. That way, you’ll create a design that fully covers the gift/box it’s intended for. Let your design dry.

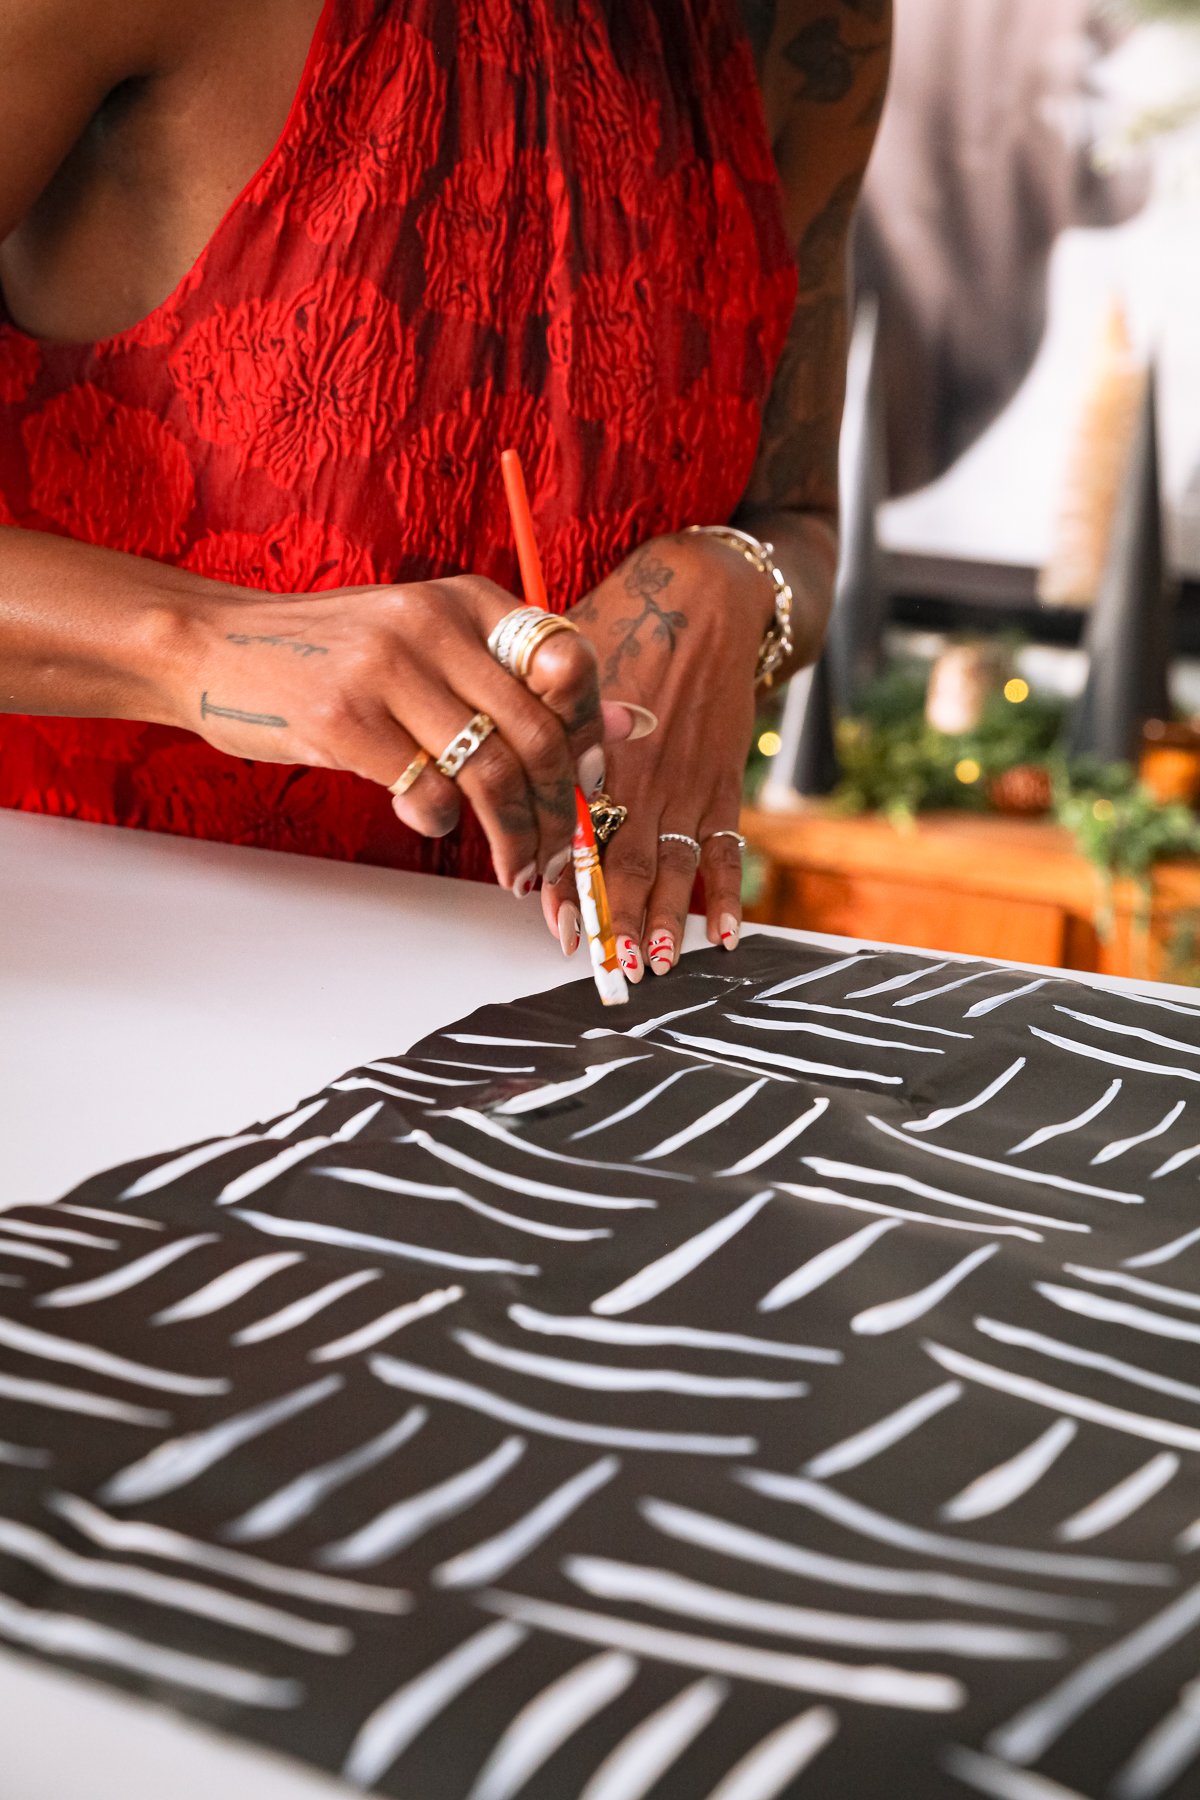


The beautiful thing about using acrylic paint for a craft like this, is that it dries relatively quickly, so the completion of this craft should only take about 10 minutes (aka, enough time for you to get through a cocktail!).

Another tip: fold down your ends for clean edges and an extra professional look.
Add on ribbon and extra accoutrements. Voila!


This is such a fun and easy craft to do with a friend; Colin and I had a juicy conversation and tons of laughs while we made ours. Wanna know what we discussed?
Check out the full steps on Episode 1 of Crafts, Cocktails and Conversation here!
